PRESS RELEASE
SketchBook Pro 7 launches with much-requested perspective and flipbook animation features, alongside valuable new membership options
SAN FRANCISCO--(BUSINESS WIRE)--Autodesk, Inc. (NASDAQ:ADSK) today introduced SketchBook Pro 7 for Windows and Mac, as well as a new membership offering for Autodesk SketchBook, a family of digital painting and sketching apps with more than 25 million users.
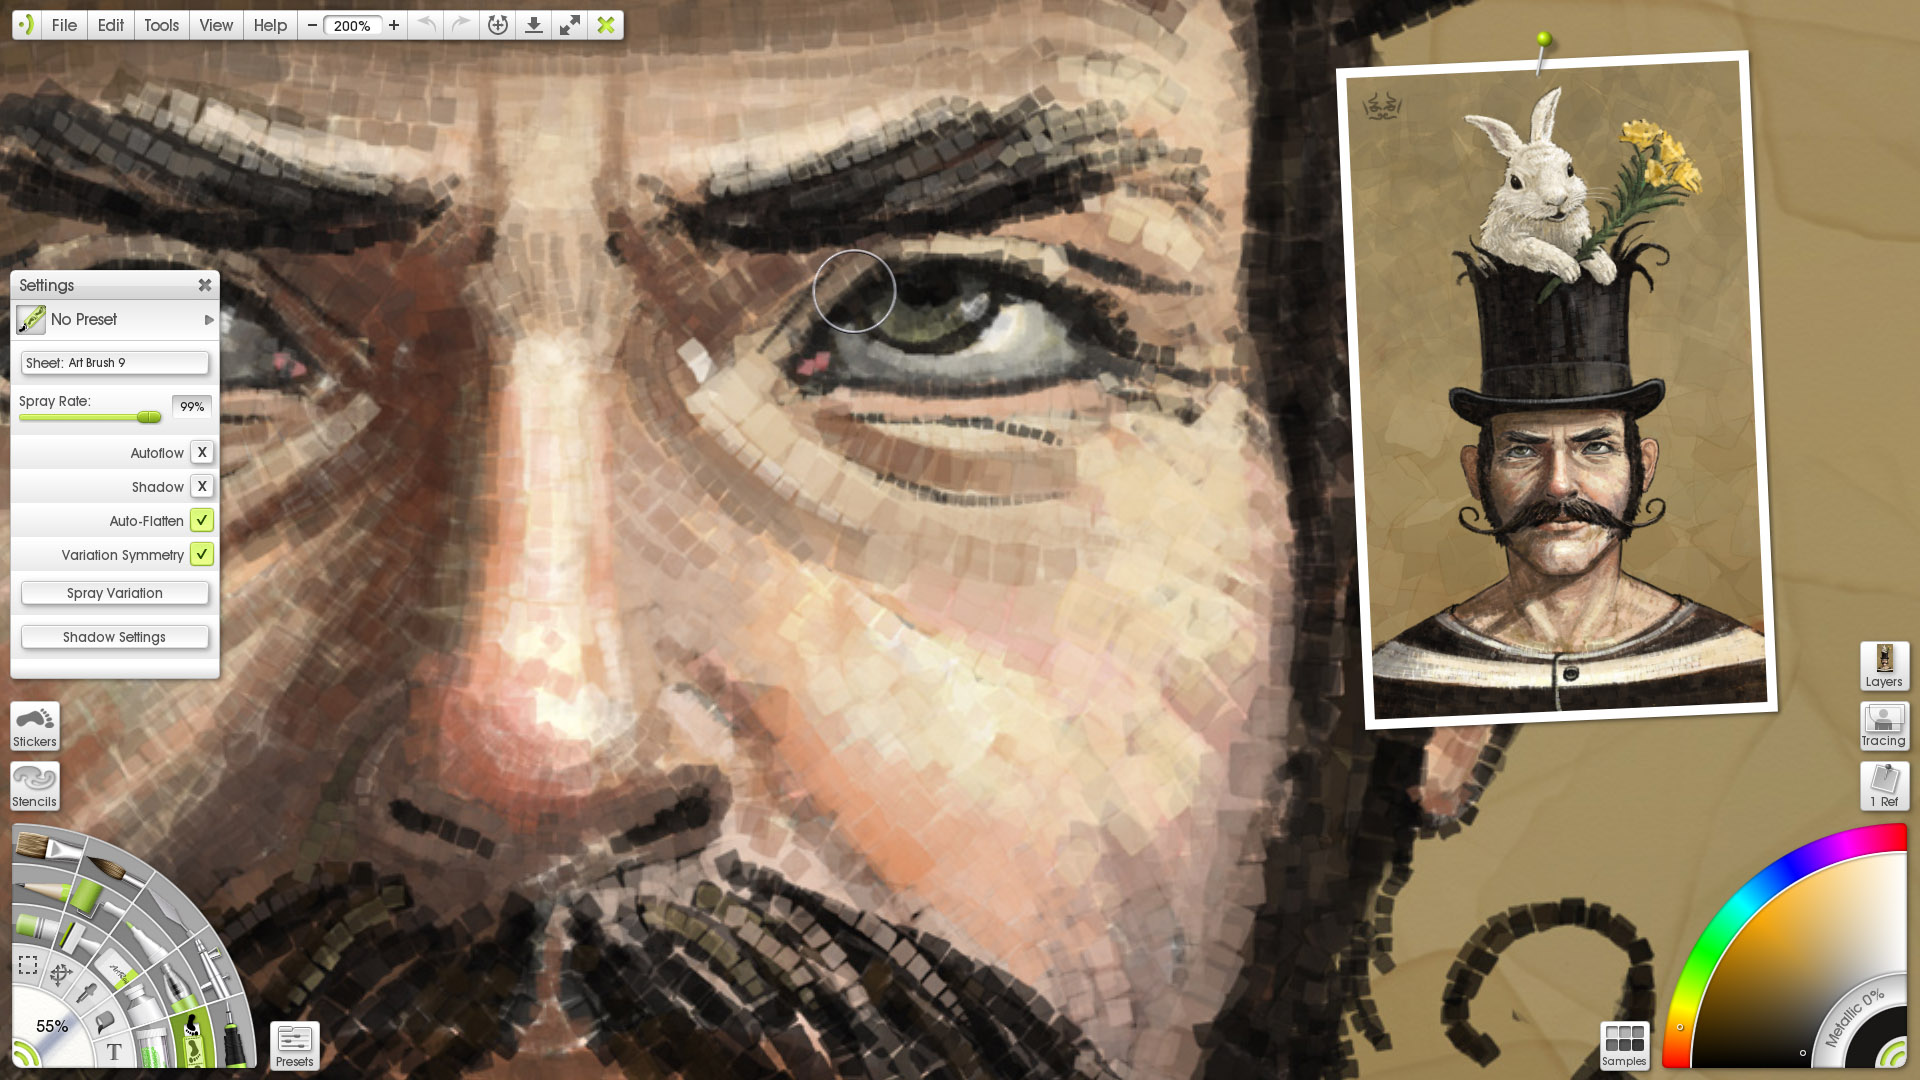
An essential tool for any digital artist, from beginning hobbyist to professional illustrator or concept designer, SketchBook Pro 7 boasts new community-requested features including Perspective Guides with 1 point, 2 point, 3 point, and Fisheye modes; Flipbook mode with animation timeline; a new drawing engine; and workflow improvements including Distort Transform, Gradient Flood Fills, improved Selection, layer grouping, multi-layer selection, and Blending modes.
"SketchBook Pro is the perfect mix of digital drawing platform, useful tools, and the informality of plain, no stress sketching,” said Dave Gibbons, comic book artist. "Drawing comics means lots of backgrounds, quite often buildings, and I’ve spent years of my life setting guidelines up! With SketchBook Pro 7, I can stay loose in the application for longer and find that the perspective tools are easier and more instinctive to use for roughing out sketches."
New Membership Options Provide More Choice
Users have the option of purchasing a standalone license of SketchBook Pro 7 or selecting from monthly or annual SketchBook membership options.
New for 2014, anyone can start using SketchBook for desktop completely free. This starter edition provides core tools to create basic drawings and enables artists to become familiar with the natural drawing experience and power of SketchBook.
Creating a free* SketchBook membership unlocks SketchBook Essentials, a more robust suite of tools to enhance the digital artist’s workflow. Layer management, a full color palette, brush customization, dynamic symmetry, and ruler tools are added to the toolbox to give artists more precise control over their art, enabling more complex drawings and illustrations.
A paid membership of either $24.99 per year or $2.99 per month unlocks the latest SketchBook Pro 7, the complete digital artist’s toolkit. Included are all the new tools that are available with SketchBook Pro 7, including the Flipbook mode, Perspective Guides, and Distort Transform features, and enhanced tools such as the improved layer editor with blending modes and layer grouping and improved selection tools. A paid SketchBook membership unlocks SketchBook for all desktop platforms, including Windows, Mac, and will unlock features in future versions of the SketchBook app for iOS and Android.
“By introducing membership options, we’re enabling all digital artists, regardless of skill level, to choose their level of access to the award-winning, industry-standard tools that SketchBook offers,” said Samir Hanna, vice president of consumer products at Autodesk. “Artists now have more options with how they interact with the software and unlock their creativity.”
About Autodesk
Autodesk helps people imagine, design and create a better world. Everyone—from design professionals, engineers and architects to digital artists, students and hobbyists—uses Autodesk software to unlock their creativity and solve important challenges. For more information visit autodesk.com or follow @autodesk.
Autodesk and SketchBook are registered trademarks of Autodesk, Inc., and/or its subsidiaries and/or affiliates in the USA and/or other countries. All other brand names, product names or trademarks belong to their respective holders. Autodesk reserves the right to alter product and services offerings, and specifications and pricing at any time without notice, and is not responsible for typographical or graphical errors that may appear in this document.
© 2014 Autodesk, Inc. All rights reserved.
*Free Autodesk software and/or cloud-based services are subject to acceptance of and compliance with the terms and conditions of the software license agreement or terms of service that accompany such software or cloud-based services.