Software tested this update (7/31/14): Mudbox 2015 SP1, runs but multi-touch rotation unresponsive. Requires May 21, 2014 Intel HD graphics driver or higher.
So you're dying to max out your credit card on a new Surface Pro 2 but are worried your favorite won't run. Or you've got the Microsoft wonder tablet but don't want to plunk down a bunch of cash on a graphics app that will blow up your new machine.
Fear not. You've come to the right place. "What Run, What Doesn't V1" was the raison d'etre for this blog and we're proud to present the Surface Pro 2/Windows 8.1 version. Rather than update the original, we'll keep that one in place for anyone who chooses not to update to Windows 8.1. (Don't know why any of you would do that, but we know there are paranoid folks out there who fear change).
Important note: the list below contains only versions I've personally tested on my Surface Pro 2. It's very likely that older versions listed in the original feature will still operate, but we won't be able to re-test those older apps for Windows 8.1 compatibility.
Recommendations are based on UI suitability to pen and touch navigation.
The list below will grow as we install more software. Since most graphics apps limit the number of installations, we're have to be somewhat deliberate in how much we migrate at a time.
As always, if you've got a specific tool you'd like us to test, please let us know in the comments section below.
Adobe
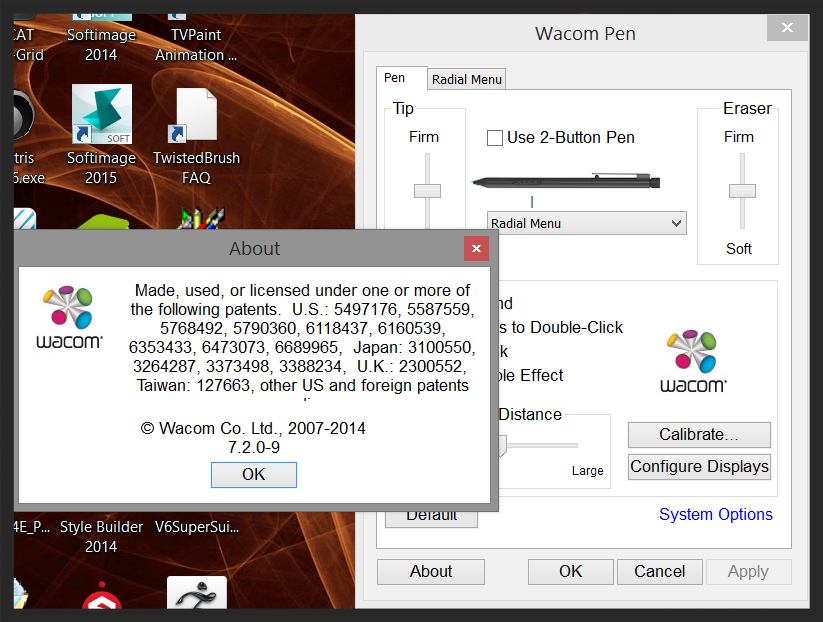
- Photoshop CC - runs, requires Wacom feel driver, recommend UI scaling hack
- Illustrator CC - runs, requires Wacom feel driver, recommend UI scaling hack
Allegorithmic
- Substance Painter 0.3.0 (beta) - runs
Ambient Design
- ArtRage 4.0.6 - runs, recommended
Autodesk
- 3DS Max 2015, 2014 - runs, mouse strongly recommended
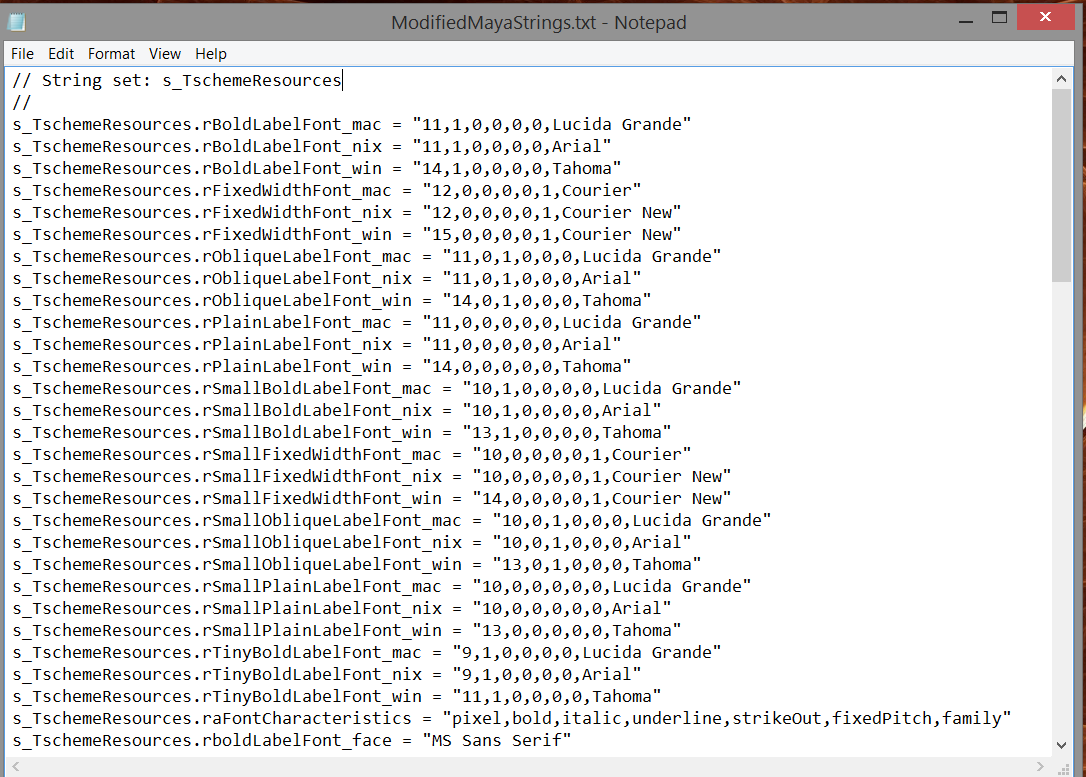
- Maya 2015, 2014 - runs, mouse strongly recommended
- Maya LT 2014 - runs
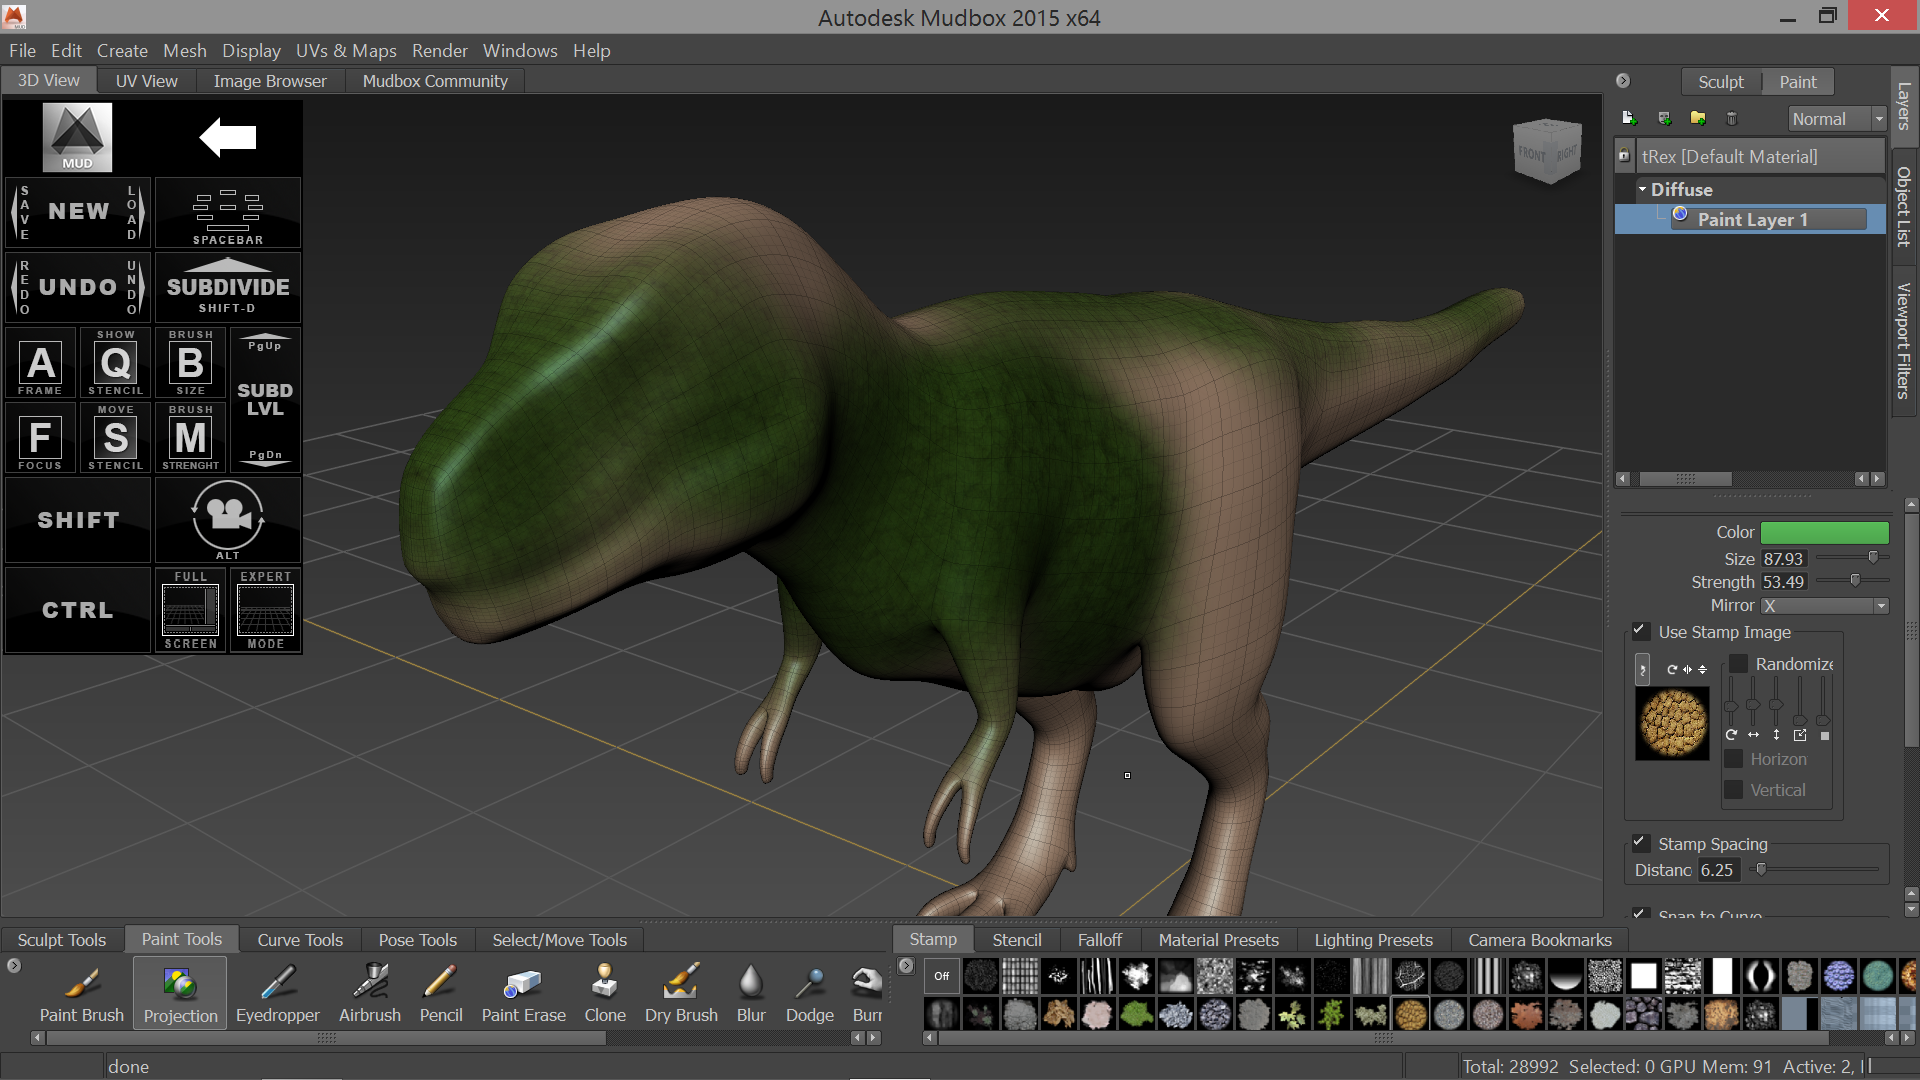
- Mudbox 2015 SP1 - runs, multi-touch rotation unresponsive. Requires May 21, 2014 Intel HD graphics driver or higher.
- Mudbox 2015*, 2014.5, 2014** - runs, *requires Intel HD display driver update, **crashes on several primitive objects
- Mudbox 2013, 2012 - incompatible, require discrete graphics
- Mudbox 2011 x64 - runs
- Sketchbook Pro 6.2.5, 6.2.4, 6.2.3 - runs, recommended
- Softimage 2015, 2014 - runs, three-button mouse required
Blender
- Blender 2.7, 2.69 - runs, mouse recommended
Celsys
- Clip Studio Paint 1.2.8 (Japanese) - runs
- Clip Studio Paint 1.3.1, 1.2.7 (English) - runs, recommended
Corel
- Corel Painter X3 - runs
DAZ
- DAZ Studio 4.6 - runs
eFrontier
- Shade 3D Professional 14 - runs
Foundry/Luxology
- Modo 801 SP1, 801, 701 SP5 - runs
Inkscape
- Inkscape 0.48.4 - runs
The Krita Foundation
- Krita Desktop 2.8.1.1 - runs
Nevercenter
- Silo 2.3, 2.2 - runs
Pixarra
- TwistedBrush Pro Studio 20.06 - runs
Pixologic
- Sculptris Alpha 6 - runs, recommended
- ZBrush 4R6 - runs, not recommended due to small UI
plasq
- Comic Life 3.0b1 - runs
Serif
- DrawPlus X6 - runs
61 Solutions
- Mischief 1.11, 1.10, 1.09 - runs, no multi-touch support
Smith Micro
- Manga Studio 5.0.4, 5.0.3 - runs, recommended
Systemax
- Paint Tool SAI 2 (beta), 1.1 - runs, pressure sensitivity works, but there is limited touch rejection. Very easy to leave stray marks. No touch pan, rotate or zoom.
tetraface
- Metasequoia 4.1.2 (64-bit) - runs
Trimble
- SketchUp Make 14.0.4900 - runs
Triple Squid Software Design
- Moments of Inspiration (MoI3D) 3.0 beta, 2.0 - runs, recommended
TVPaint Developpement
- TVPaint Animation 10 Pro - runs
Unity Pro 4.3.0b6 - runs, requires mouse
Web Technology Corp.
- Comipo! 1.81.00 - runs