Note: I haven’t been
able to get Unity 4.x working on the Surface Pro and Softimage is pretty
difficult to operate without a middle mouse button, but I thought readers of
this blog wouldn’t mind this off topic tutorial for a change of pace. The accompanying video is a little tough to watch at 7 minutes without audio. It's difficult to line up so many images with body copy in Squarespace 6, so I hope the slideshow will help. Apologies for the low resolution.
I’m a long time Softimage and Unity user, but I mostly create static meshes for environments and the like. Because I only have to export an animated character every couple of years or so, it seems I have to relearn the process every time I do it. And since Unity 4.x’s introduction of the Mecanim character animation technology, I really had some catching up to do.
Unfortunately, while Unity is quickly becoming the world’s most popular game engine, Softimage appears to be moving on a different, diminishing trajectory. Despite its amazing capabilities, Softimage, forever known as XSI to its long-time users, is probably the least documented major 3d application, especially when it comes to integrating with Unity.
So the purpose of this brief document is as much for me as it is for you, dear reader. I just wanted to have a simple walkthrough of the XSI to Unity Mecanim workflow to jog my memory the next time I need to use it.
There won’t be anything fancy contained here and there are many subtleties I will skip to get to the meat of the process. Depending on the response to this document, I may expand on those steps in the future.
For now we’re going to work with Softimage’s built-in low poly primitive man and basic skeleton.
Make sure the Animate toolbar is visible along the left side of the screen. Pressing 2 on your keyboard will switch to Animate mode.

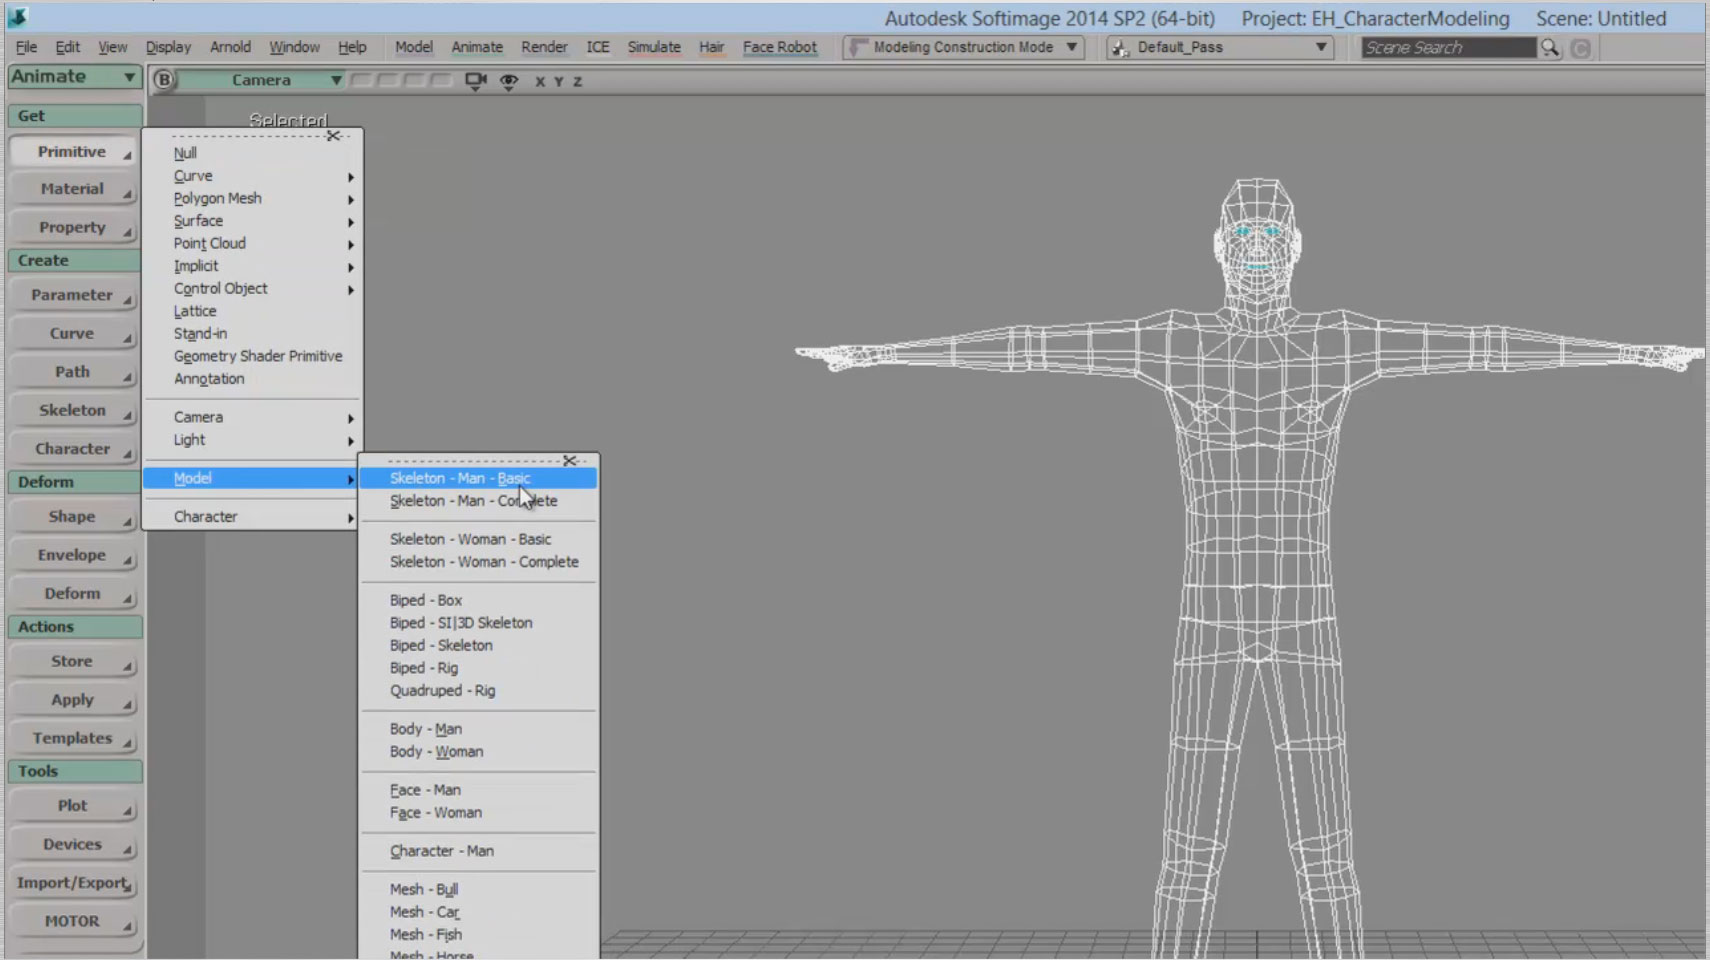
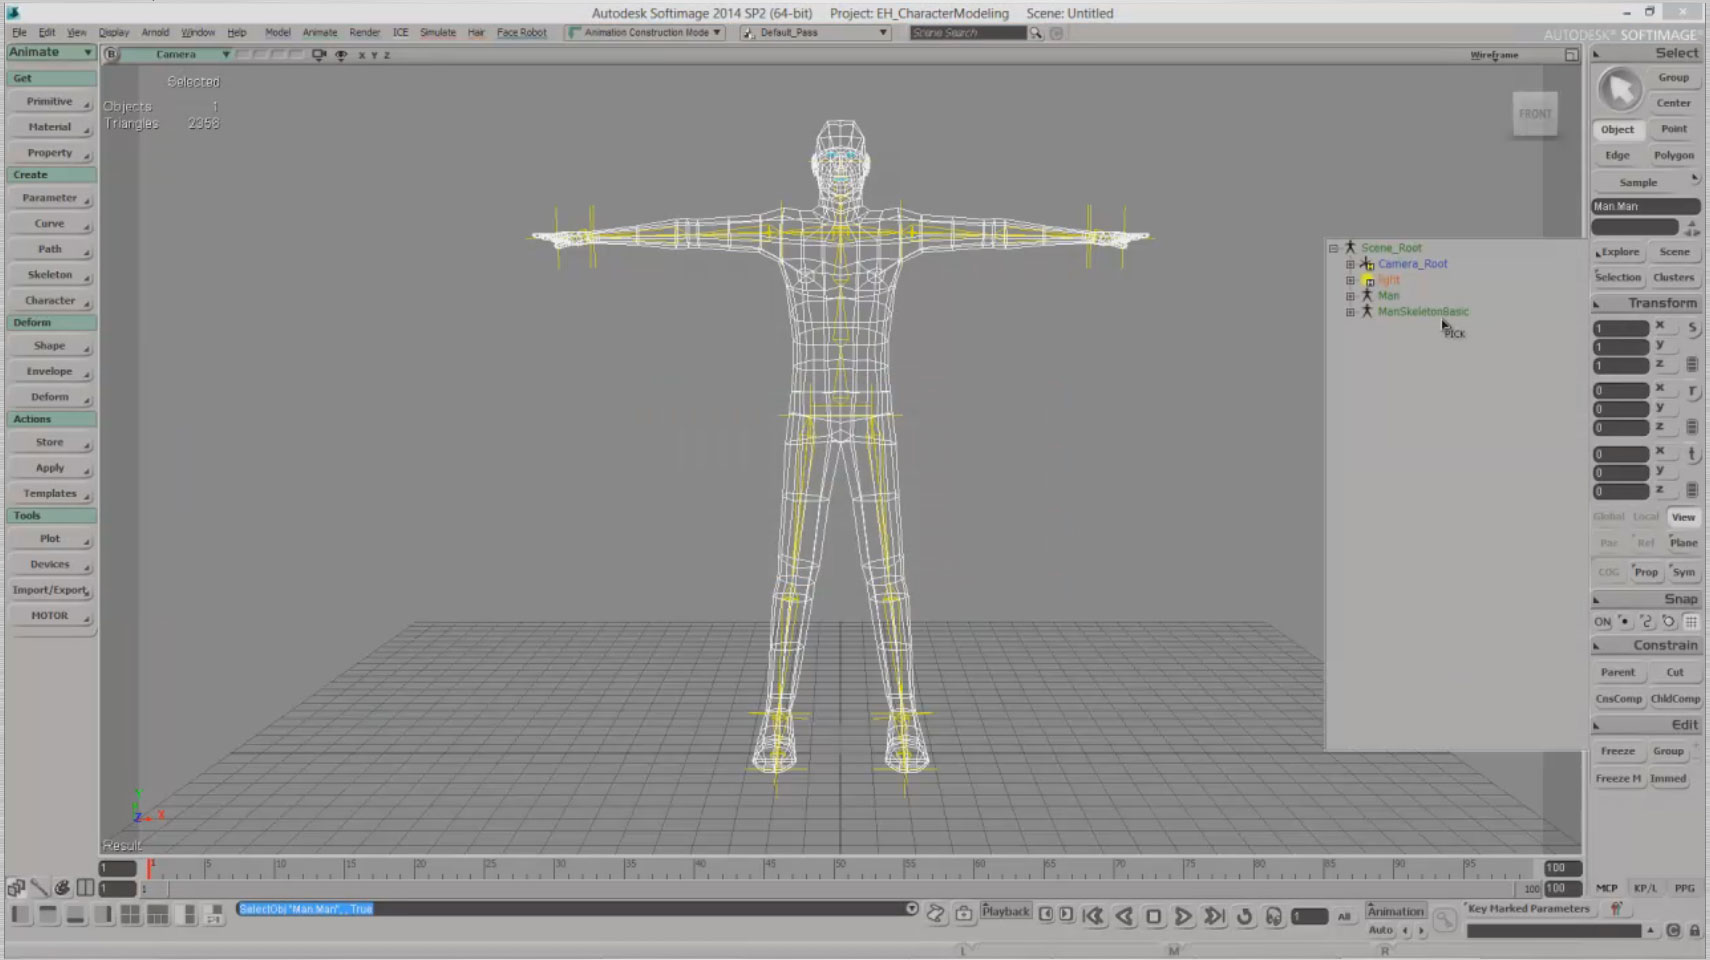
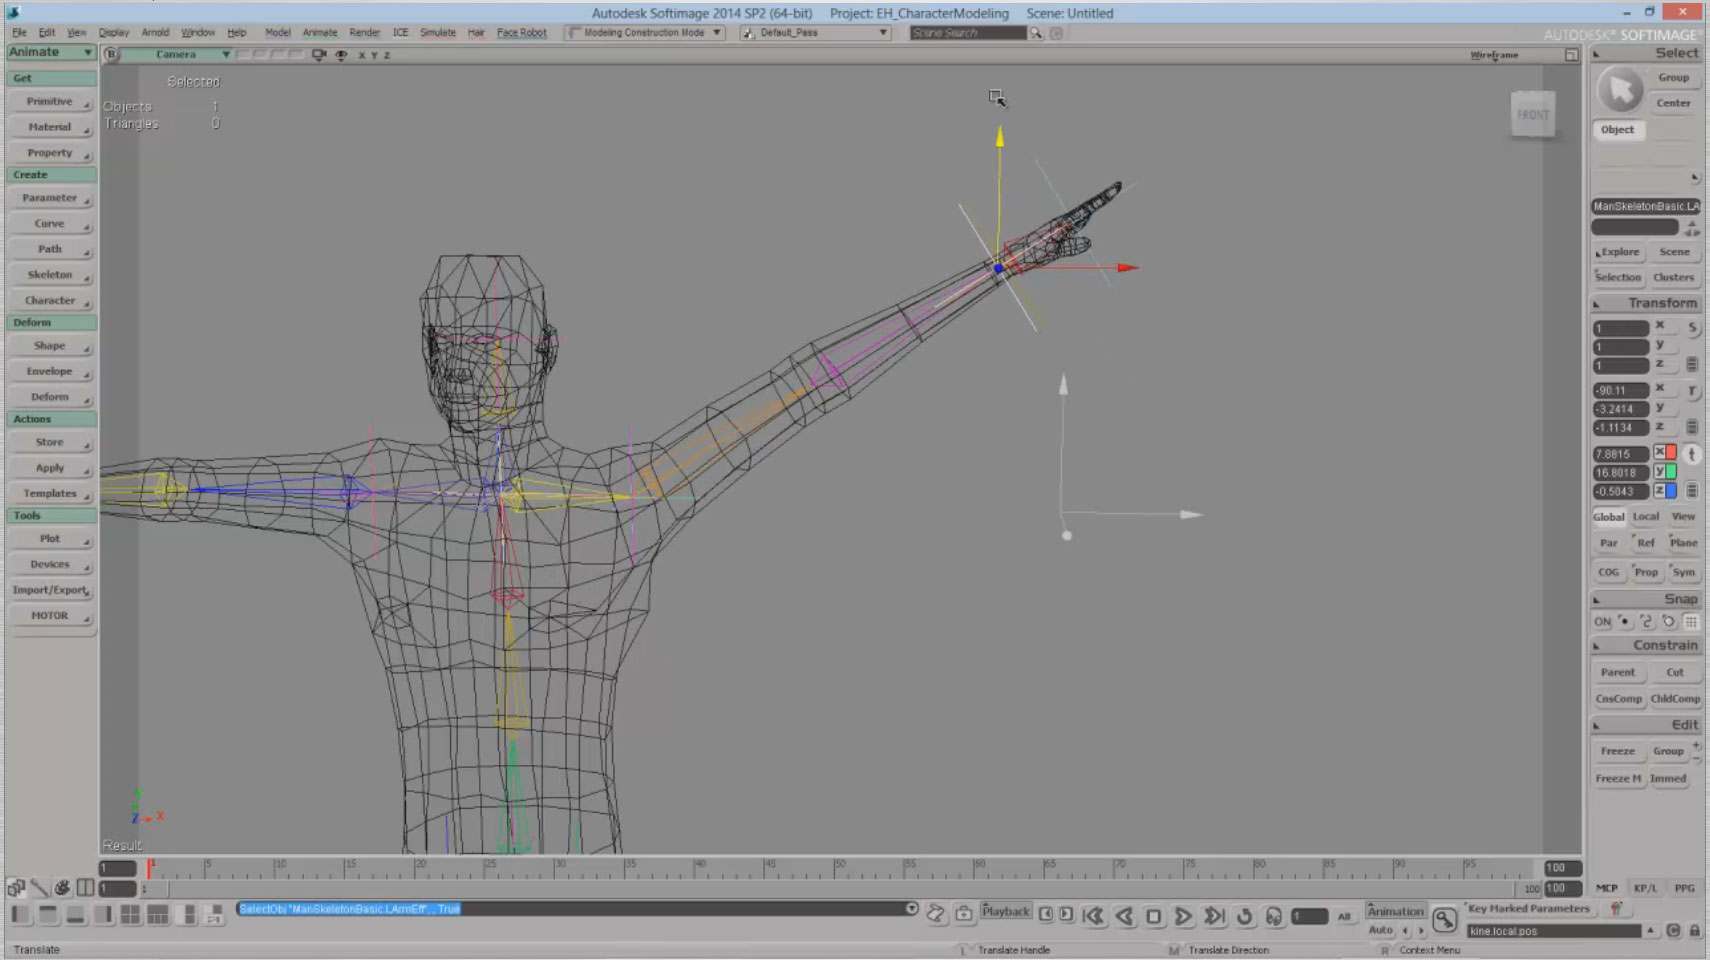
Load the primitive man object by going to the Animate toolbar’s Get/Primitive/Model /Body Man item.
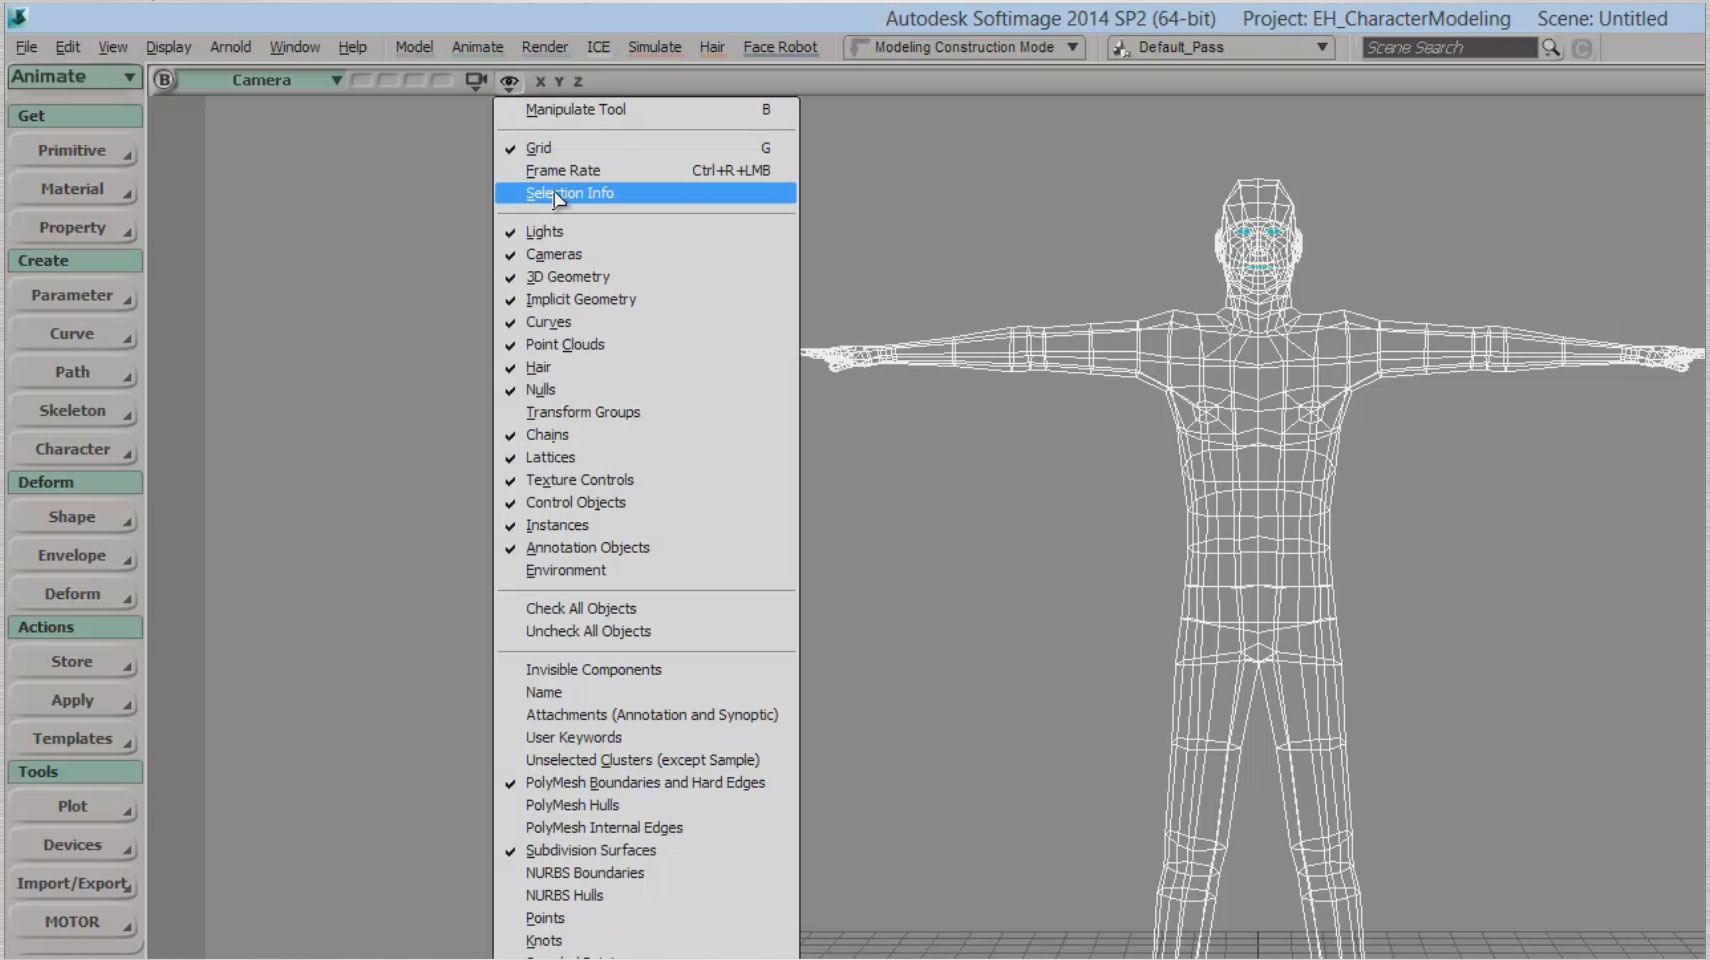
Press the “a” key to frame up the primitive man model. Notice that this is a very low polygon model, but it will do just fine for our demonstration. To view scene statistics, select the Eye icon at the top of the scene view and pull down and select “Selection Info.”
Then click on the man primitive to select it and you will see that it is composed of only 2356 triangles.
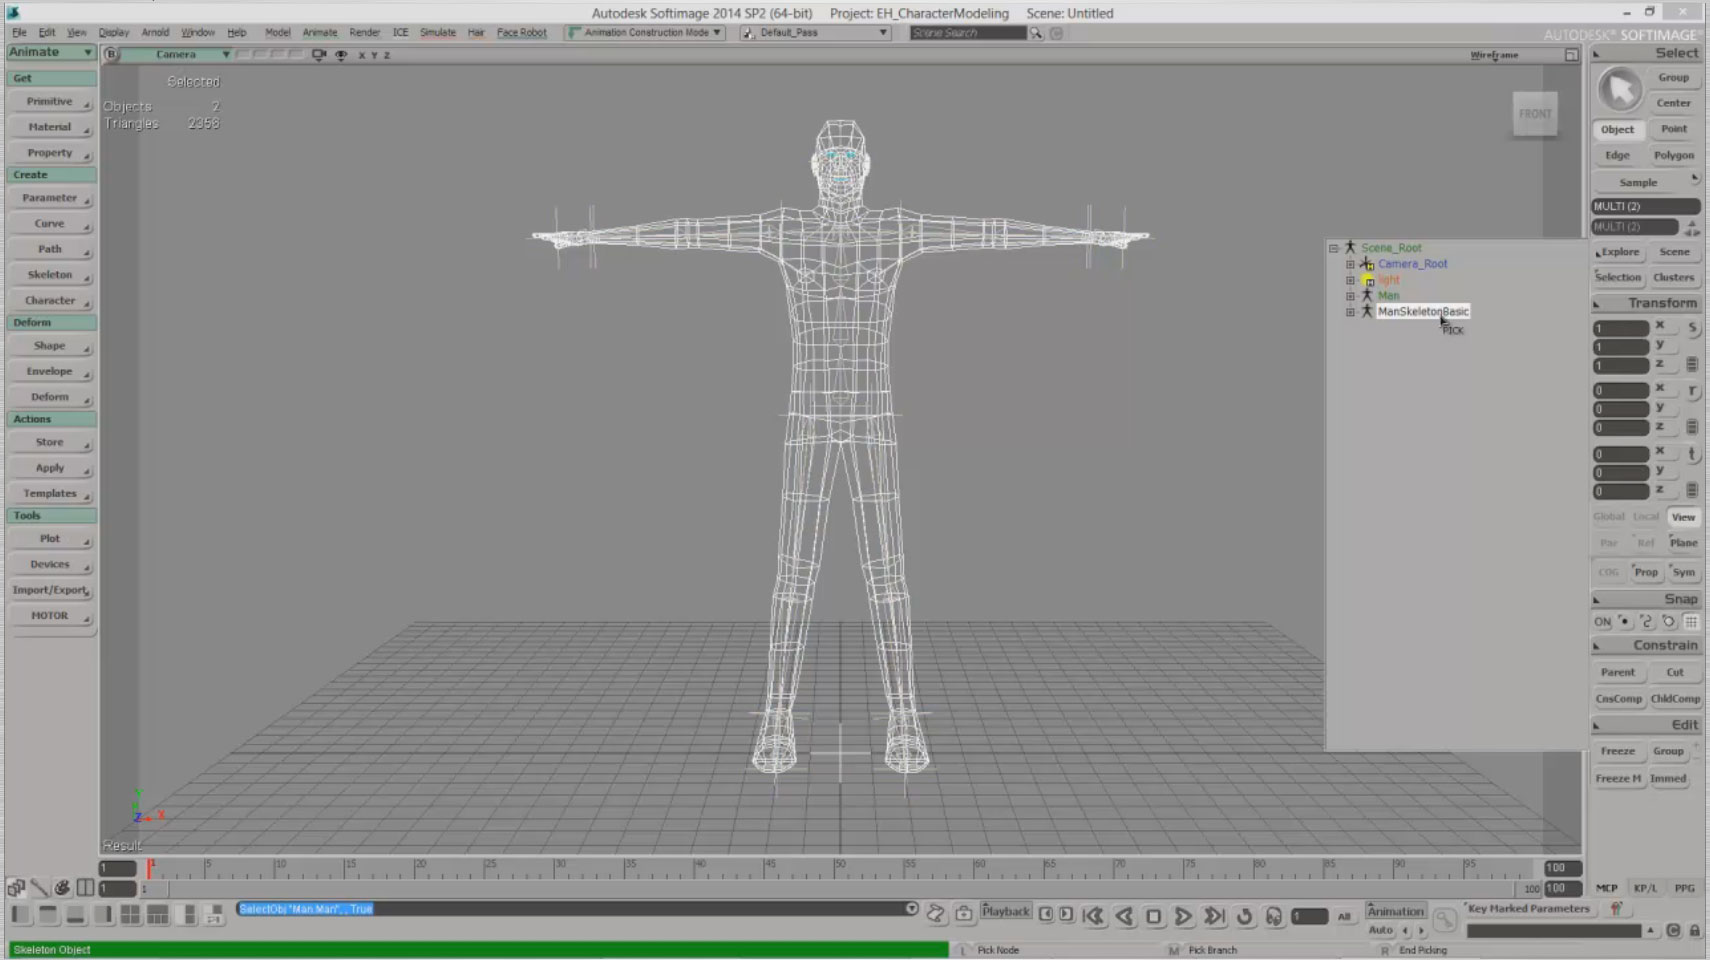
Next we're going to add a skeleton to the scene that we will use to deform our model. From the Animate toolbar, selet Get/Primitive/Model/Skeleton Man Basic. You'll notice that the skeleton lines up perfectly with our primitive.
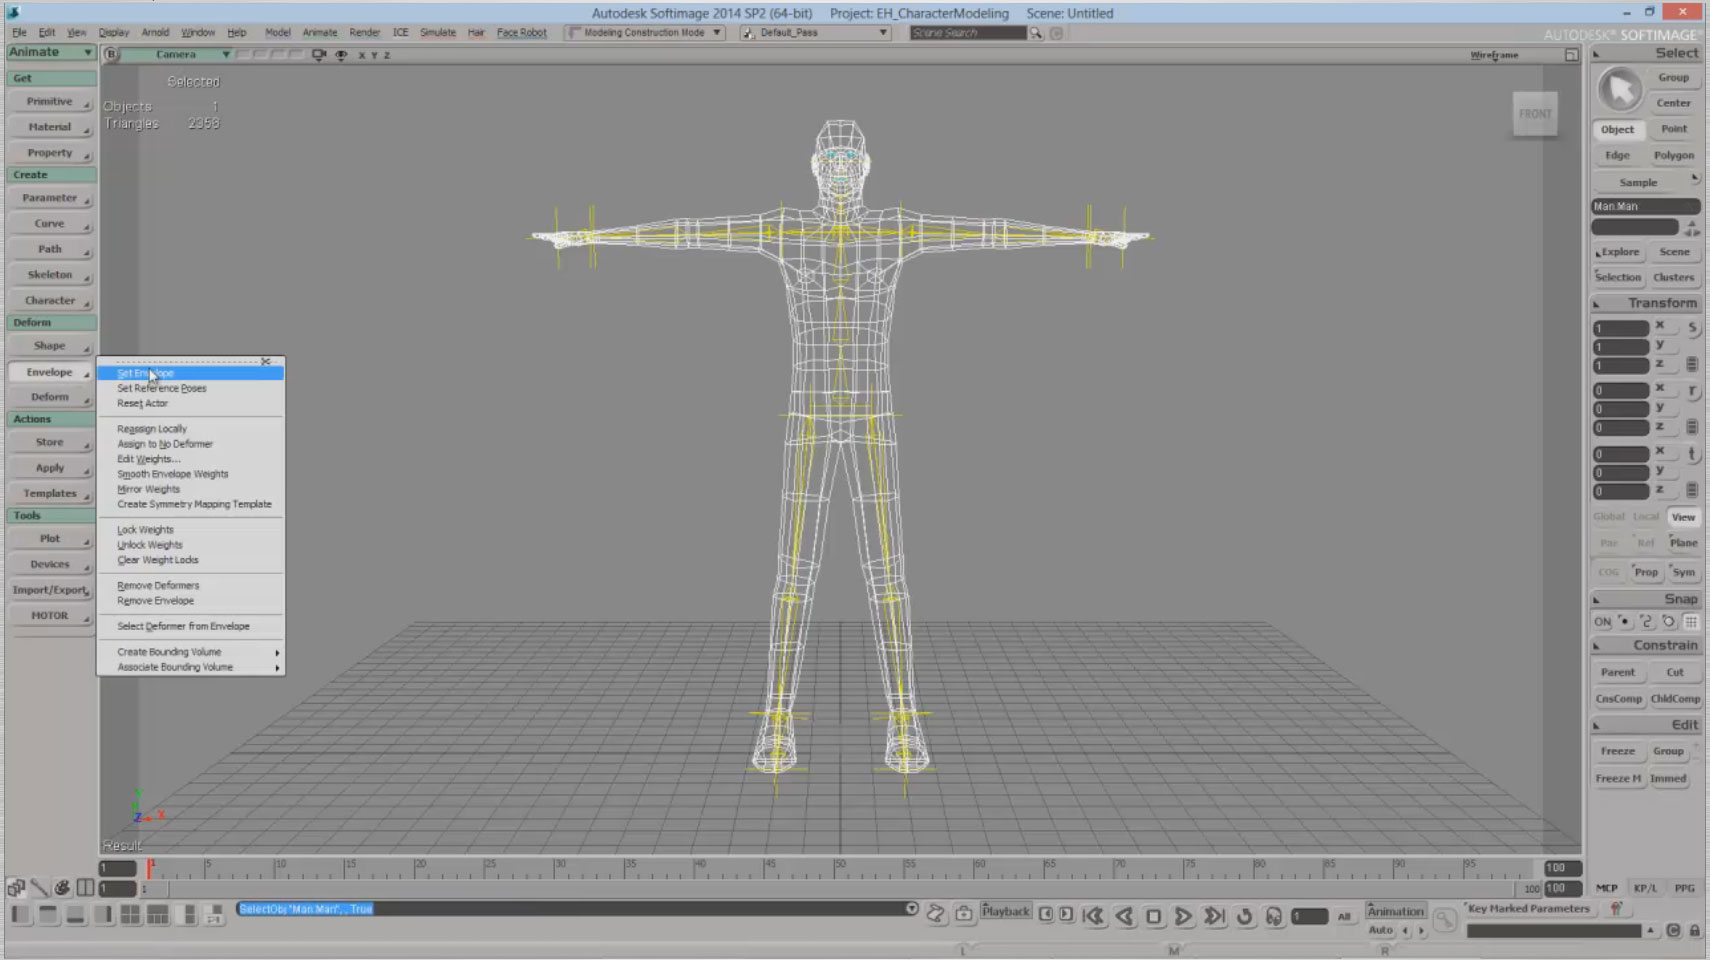
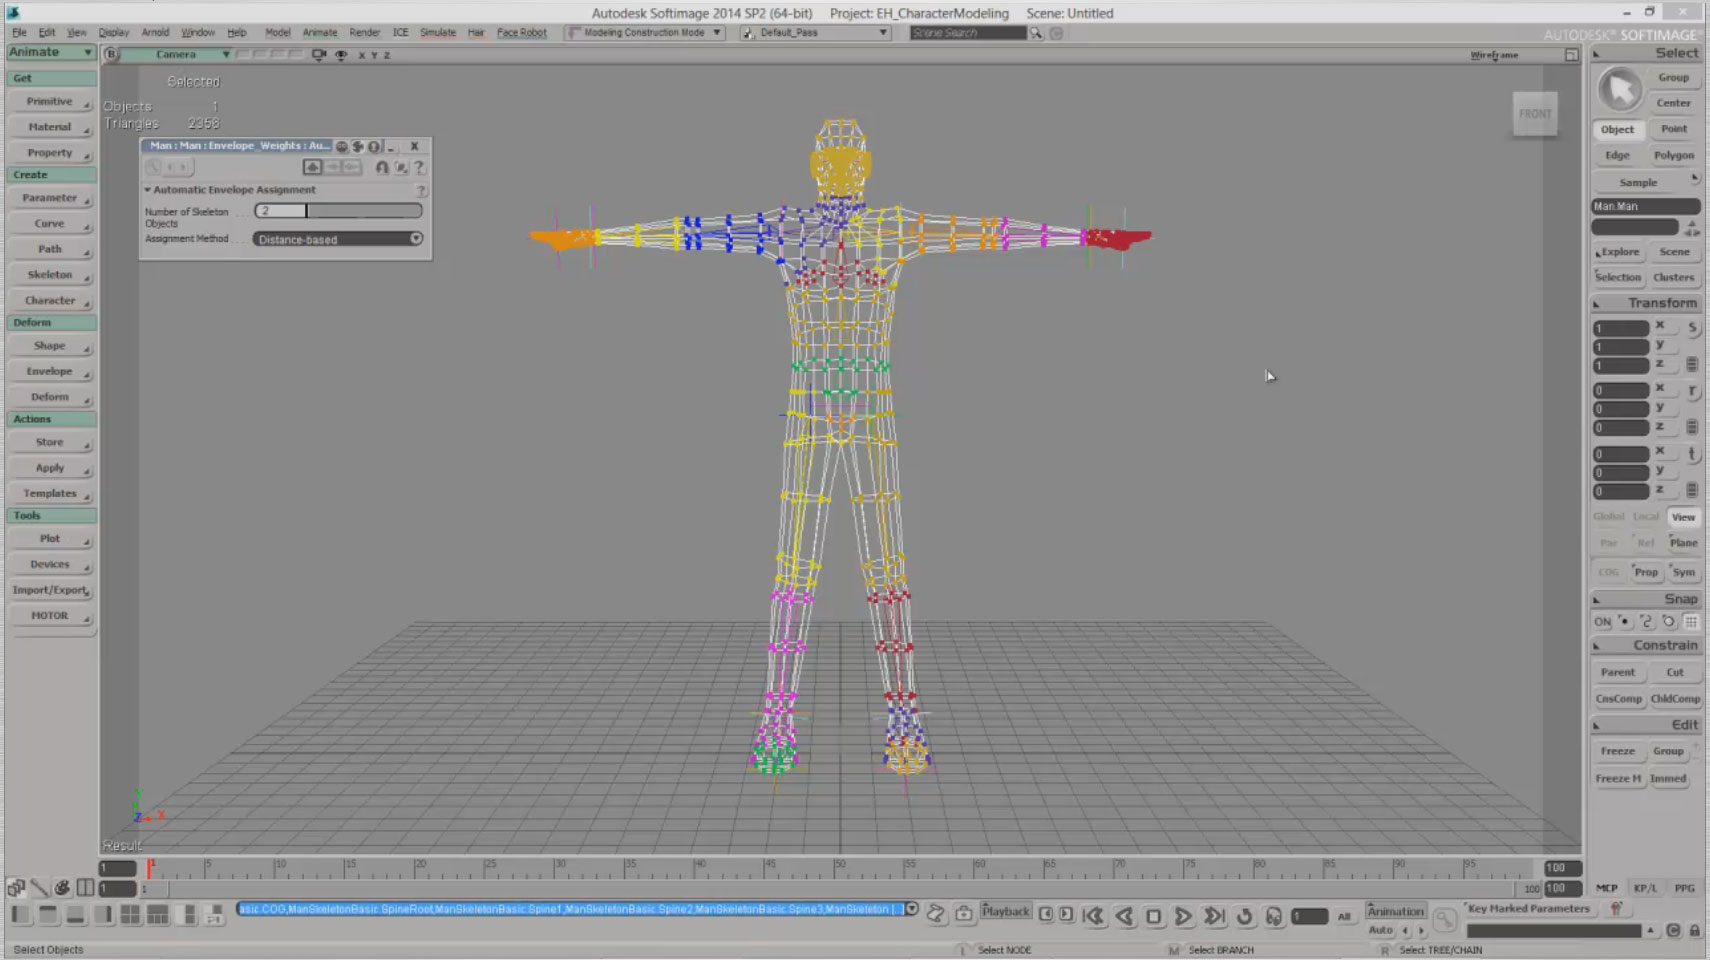
Next we need to envelope (or skin) our model to determine which parts of the mesh are controlled by particular bones. Select the man primitive, then go to the Animate toolbar and select Deform/Envelope/Set Envelope.
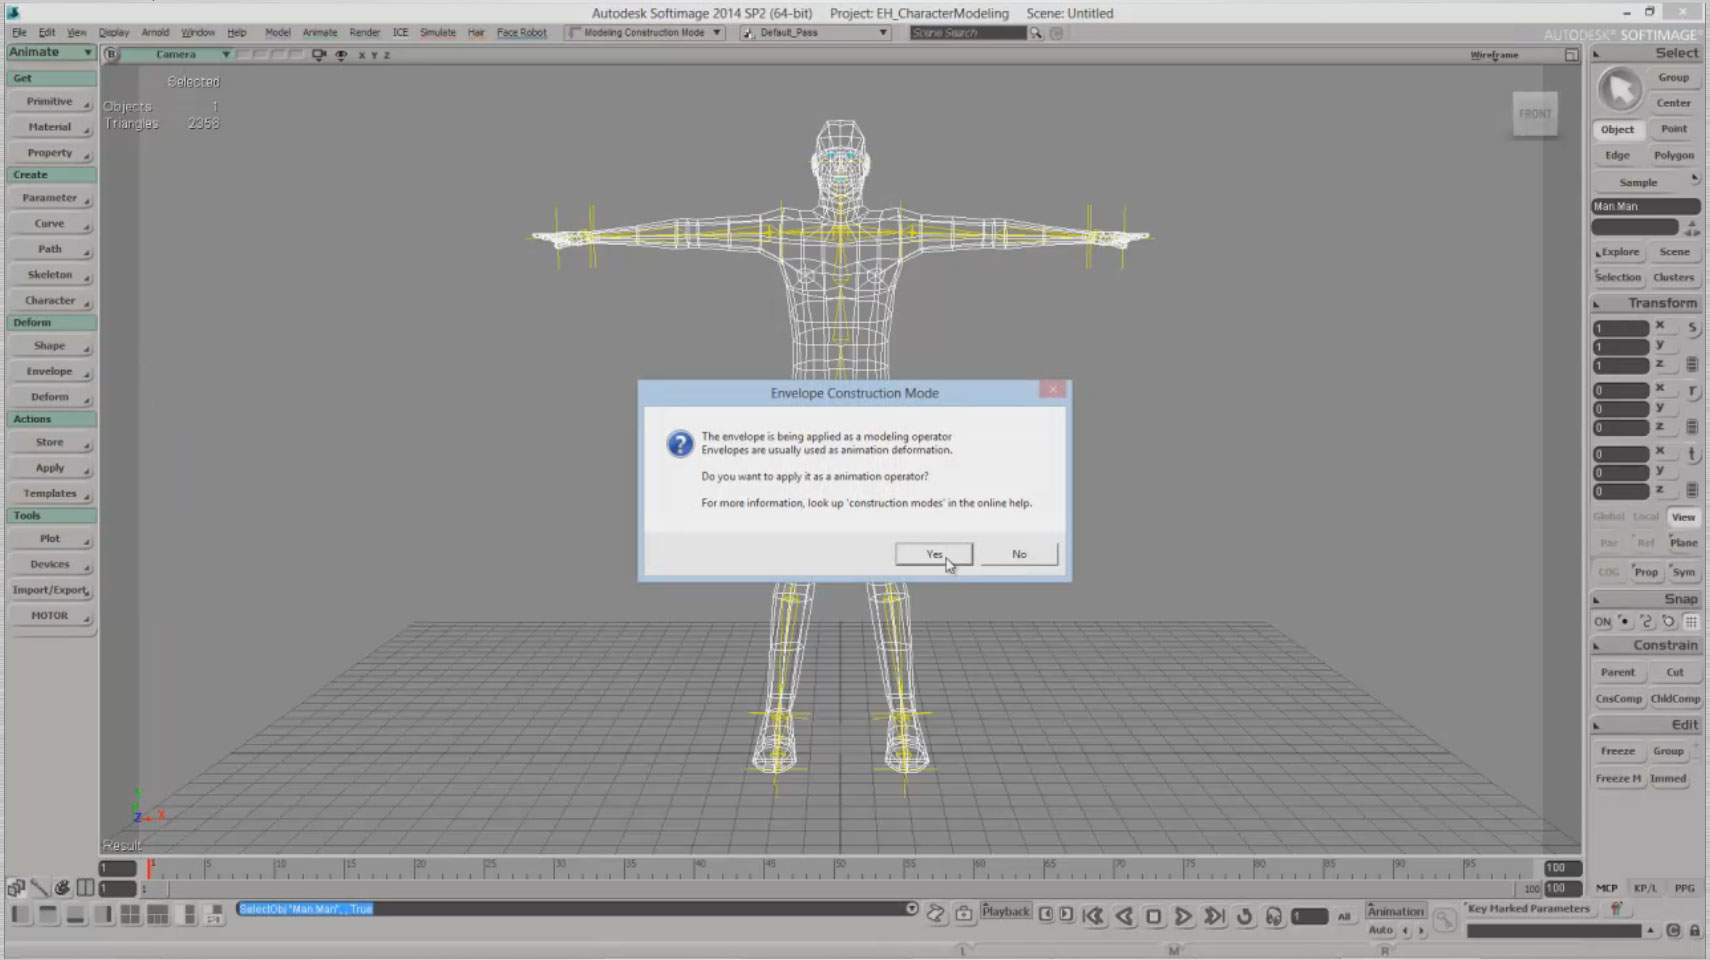
Softimage will display a warning message that says essentially that this operator must be applied in animation mode. Select Yes and the software will do so automatically.
Now we need to select all of the bone objects that will be considered in the weight map envelope. You can pick one bone at a time to envelope, but the simplest way to do this is to go to the Scene Explorer located in the Main Command Panel on the right of the screen or by pressing 8 on your keyboard. In the Scene Explorer, middle click your mouse button on the man skeleton basic object to select the entire hierarchy.
Close the scene explorer window and then right-click to end the picking session. Accept the defaults in the Automatic Envelope Assignment window and you are done.
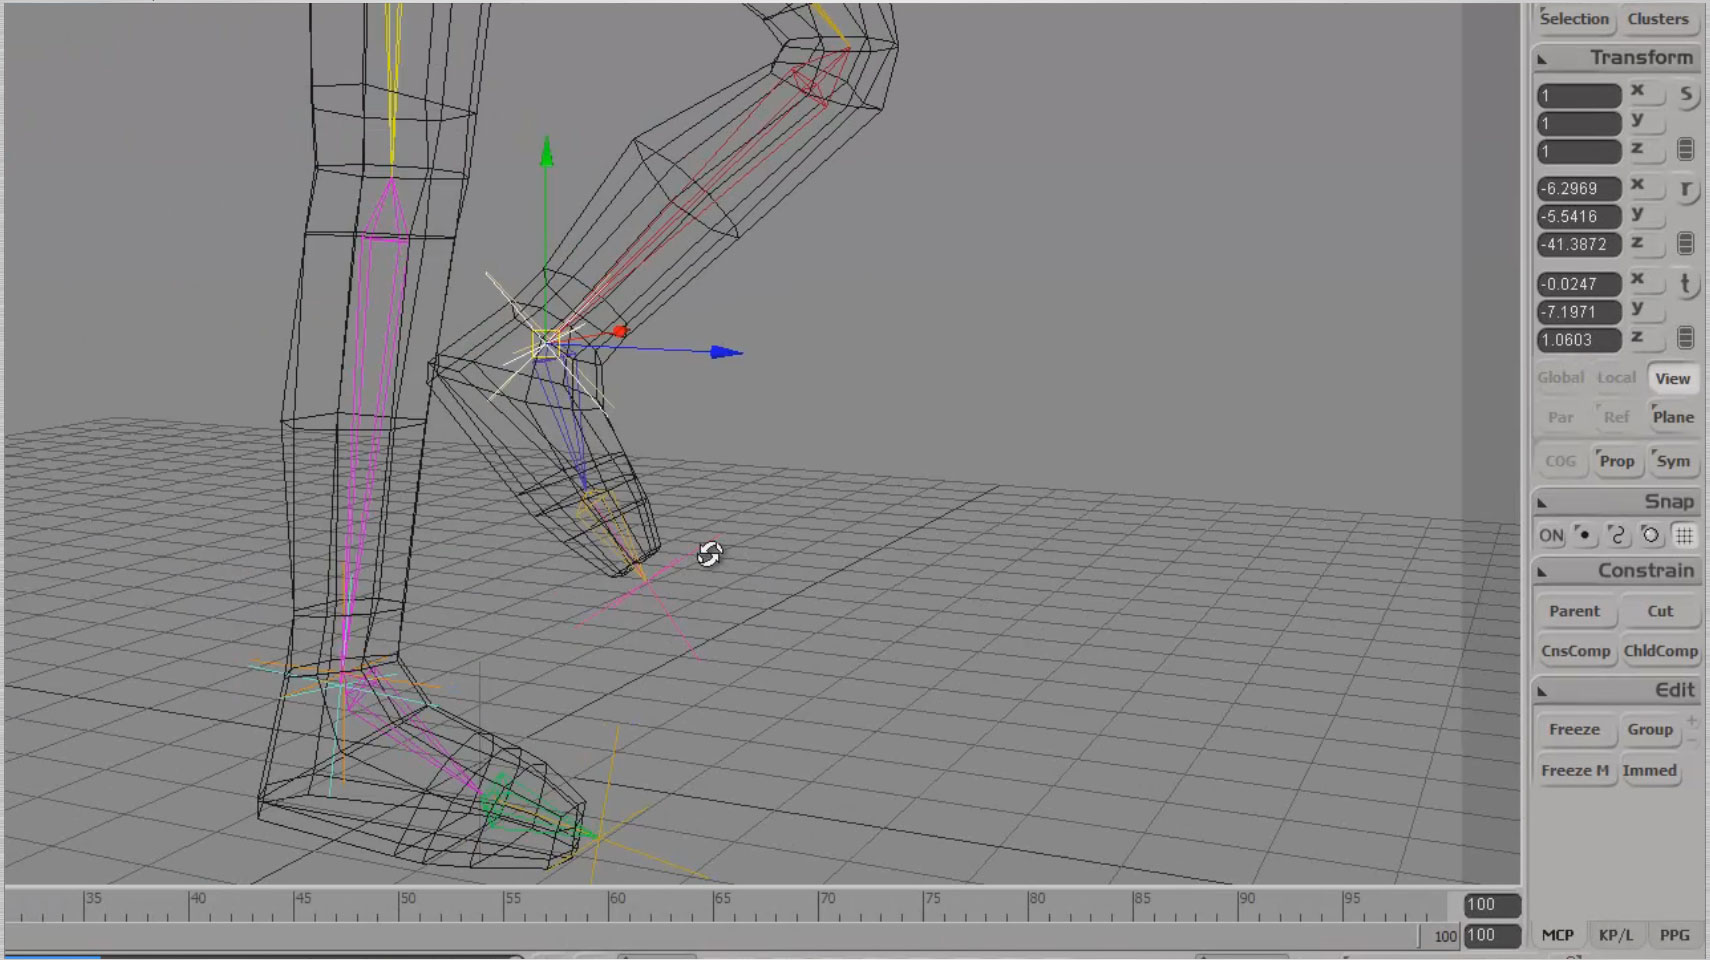
Test your envelope by selecting the left or right foot effector (one of the two null objects sitting in the area of the mesh’s ankles), hitting the key the v key to bring up your translate manipulator and click and drag along the green or Y axis to lift the effector and see whether the leg flexes properly. Undo or ctrl-Z to return the effector to its original location.
Test again by selecting the left or right arm effector (one of the two nulls located at the mesh’s wrist) to see the bending of the arm. You will notice some unwanted pinching and stretching under the armpit. We won’t attempt to correct this in this tutorial. (For a finished product, you would want to go in and change the weight map values in the problematic areas.) Press cntl-Z to return the arm effector to its original position.
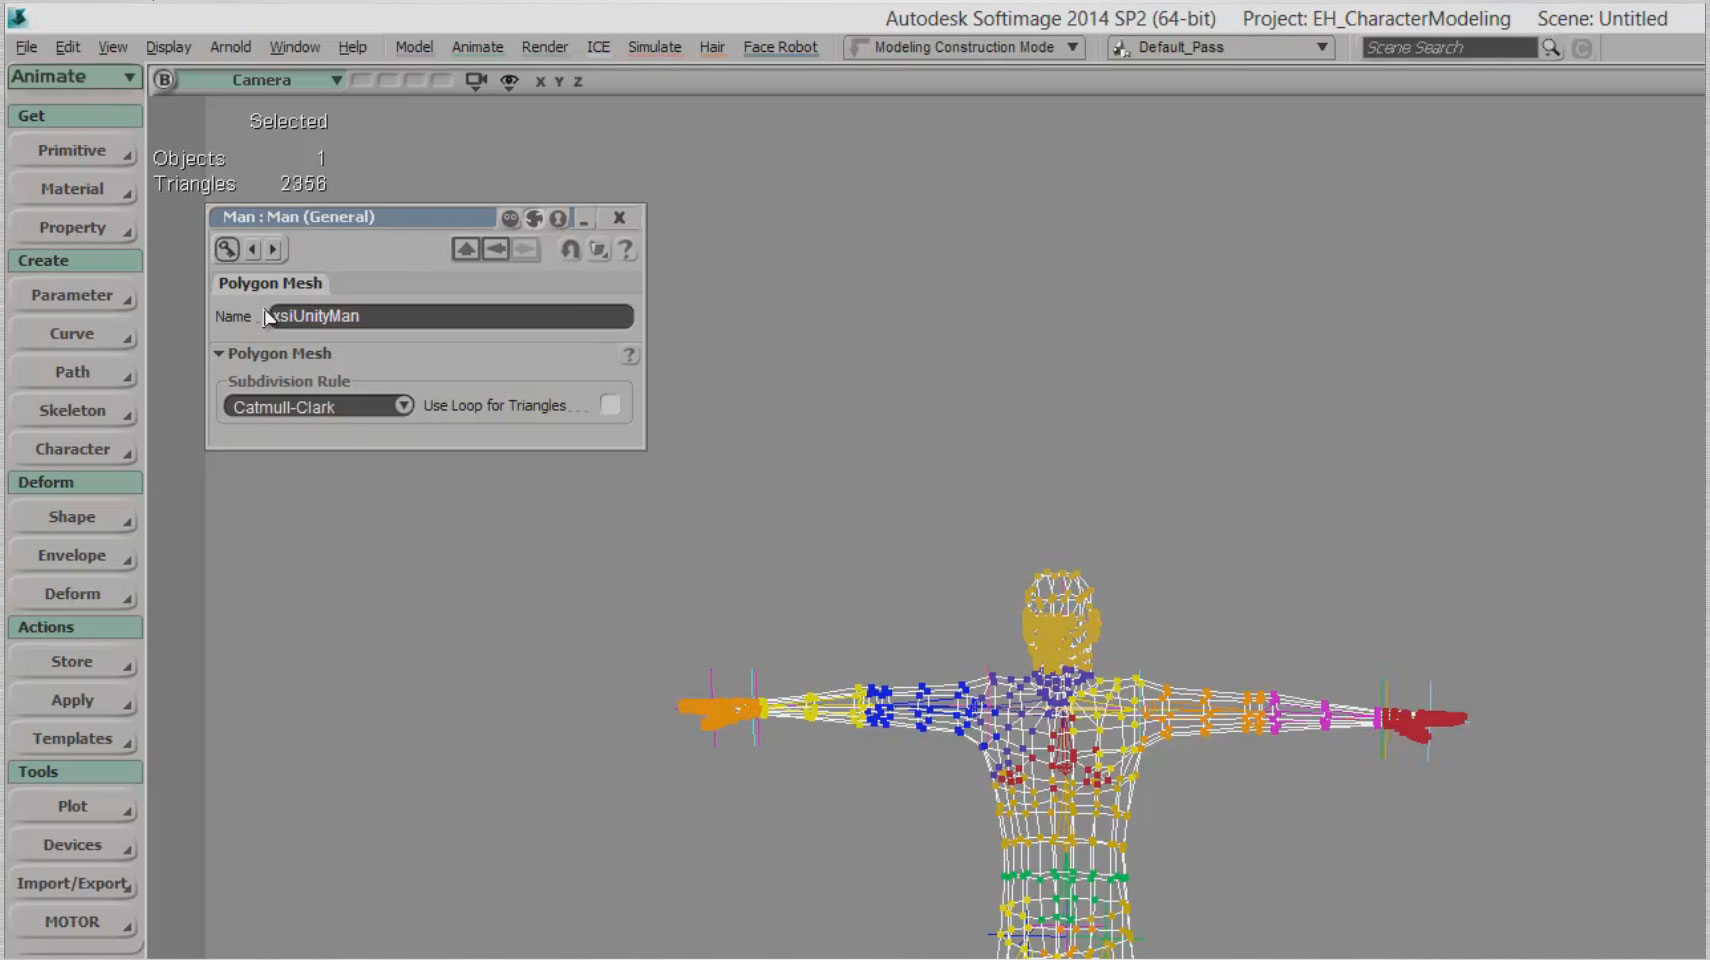
Now we want to export our enveloped (skinned) character to Unity. First, let’s rename the man
primitive. With his mesh selected, hit Enter. Type xsiUnityMan.
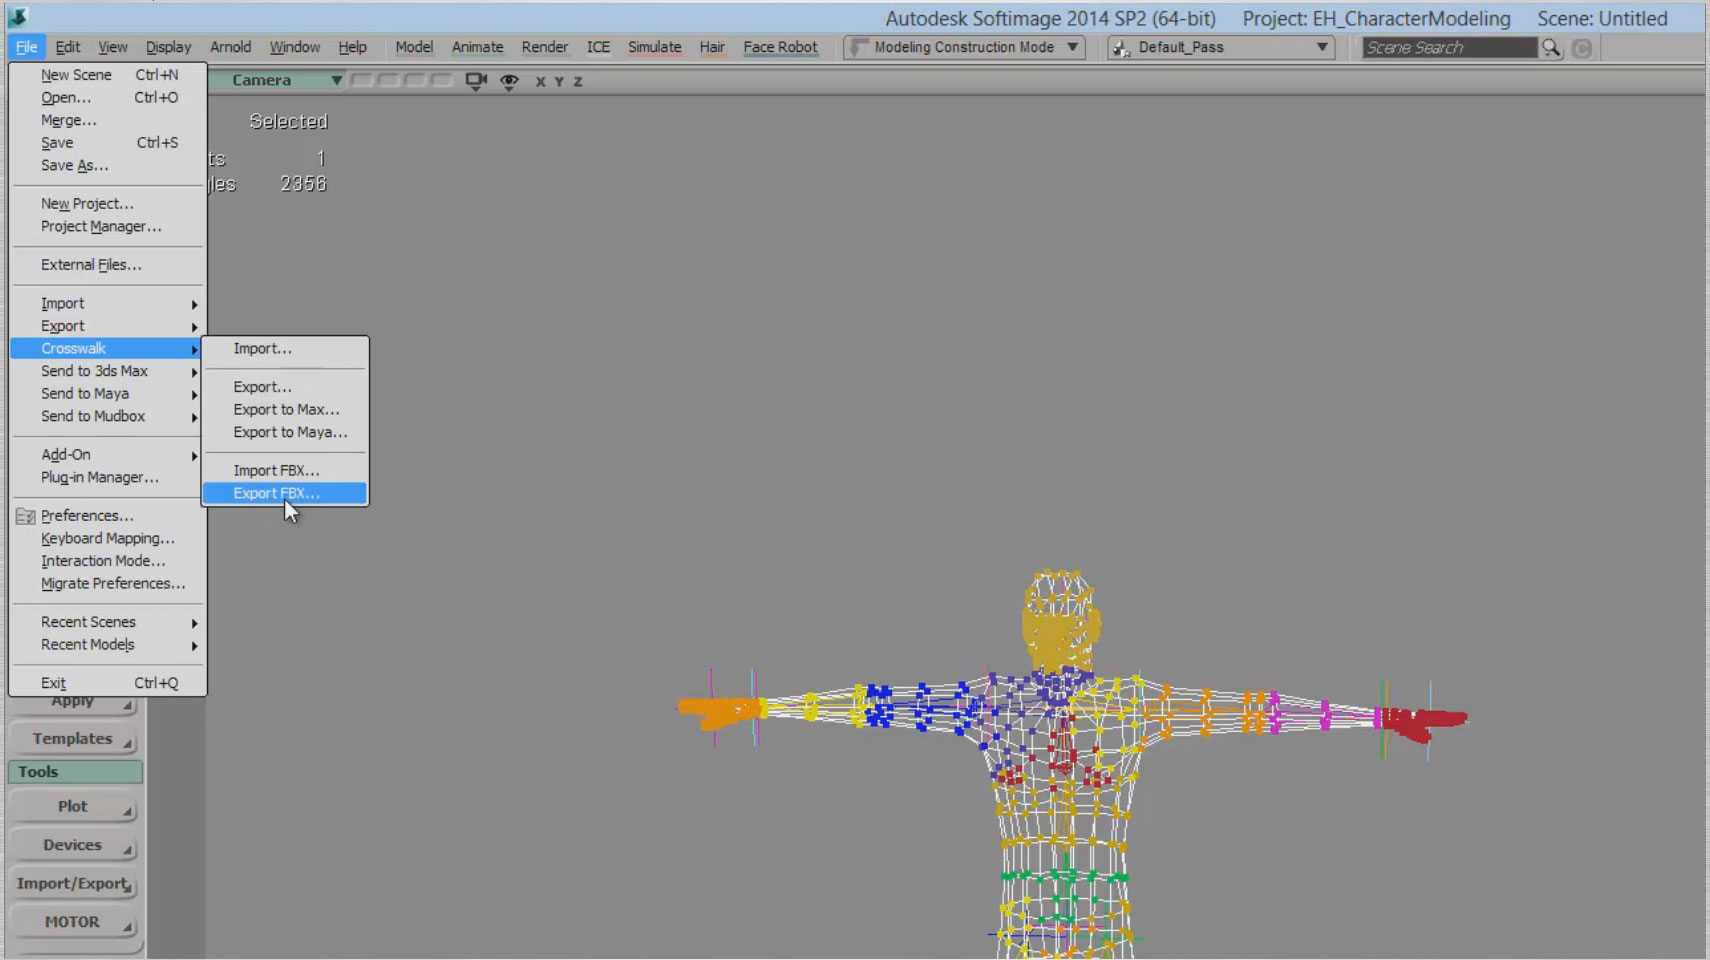
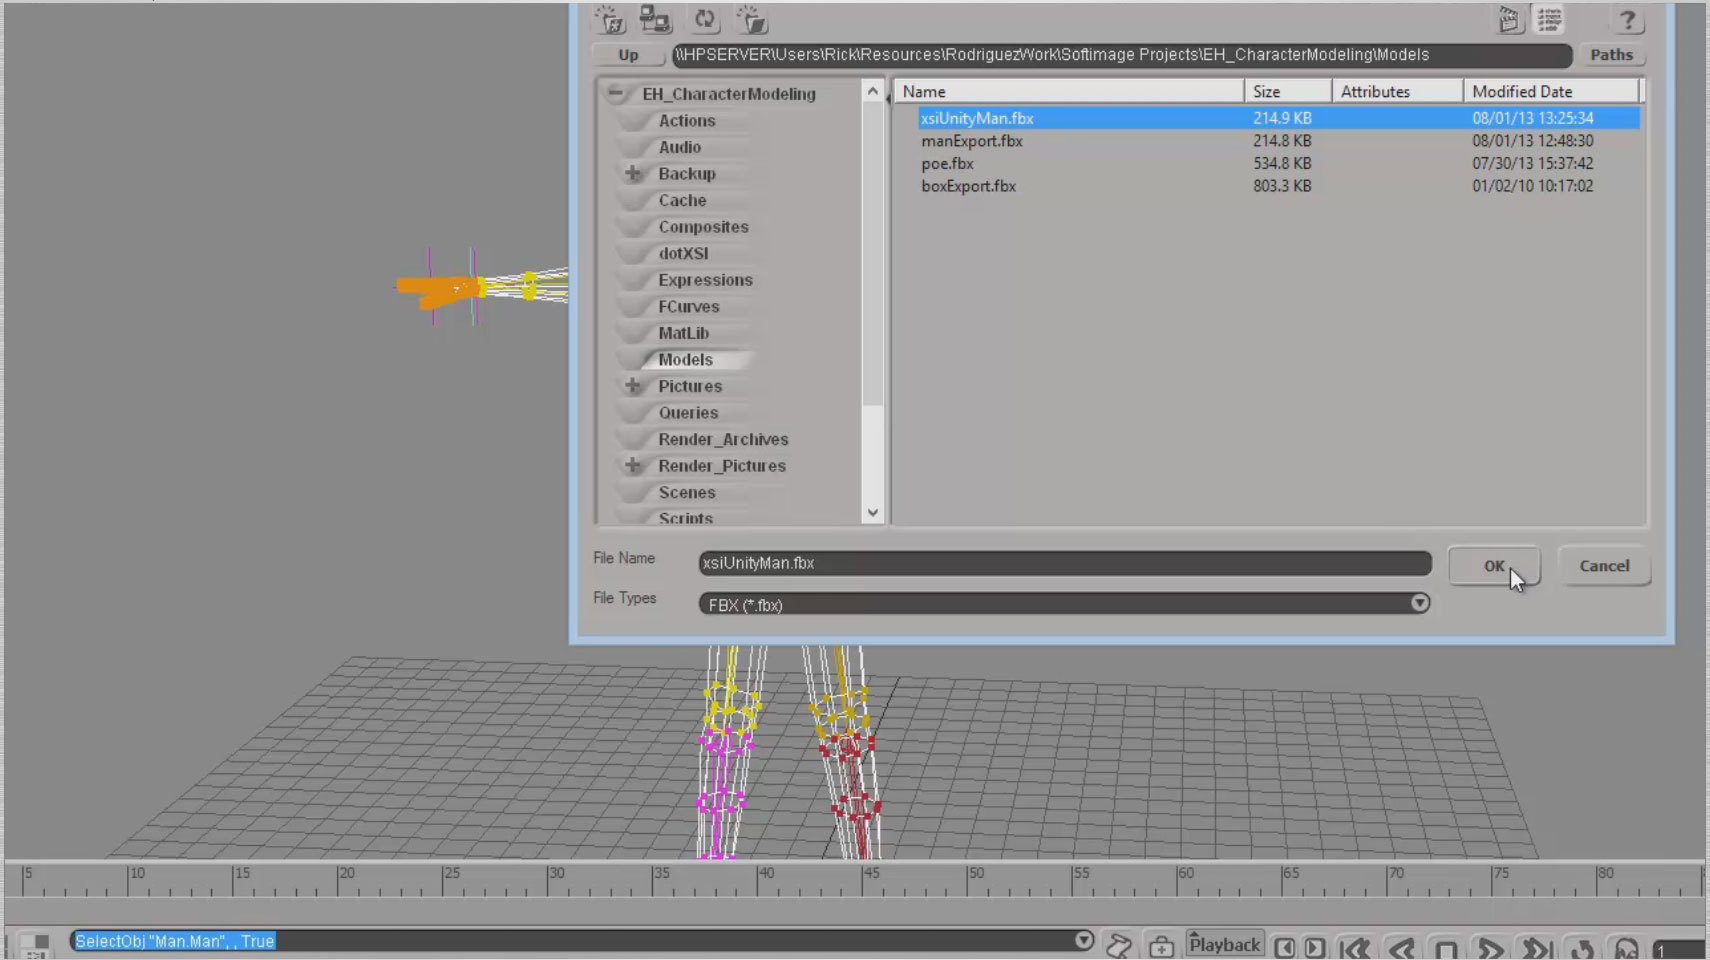
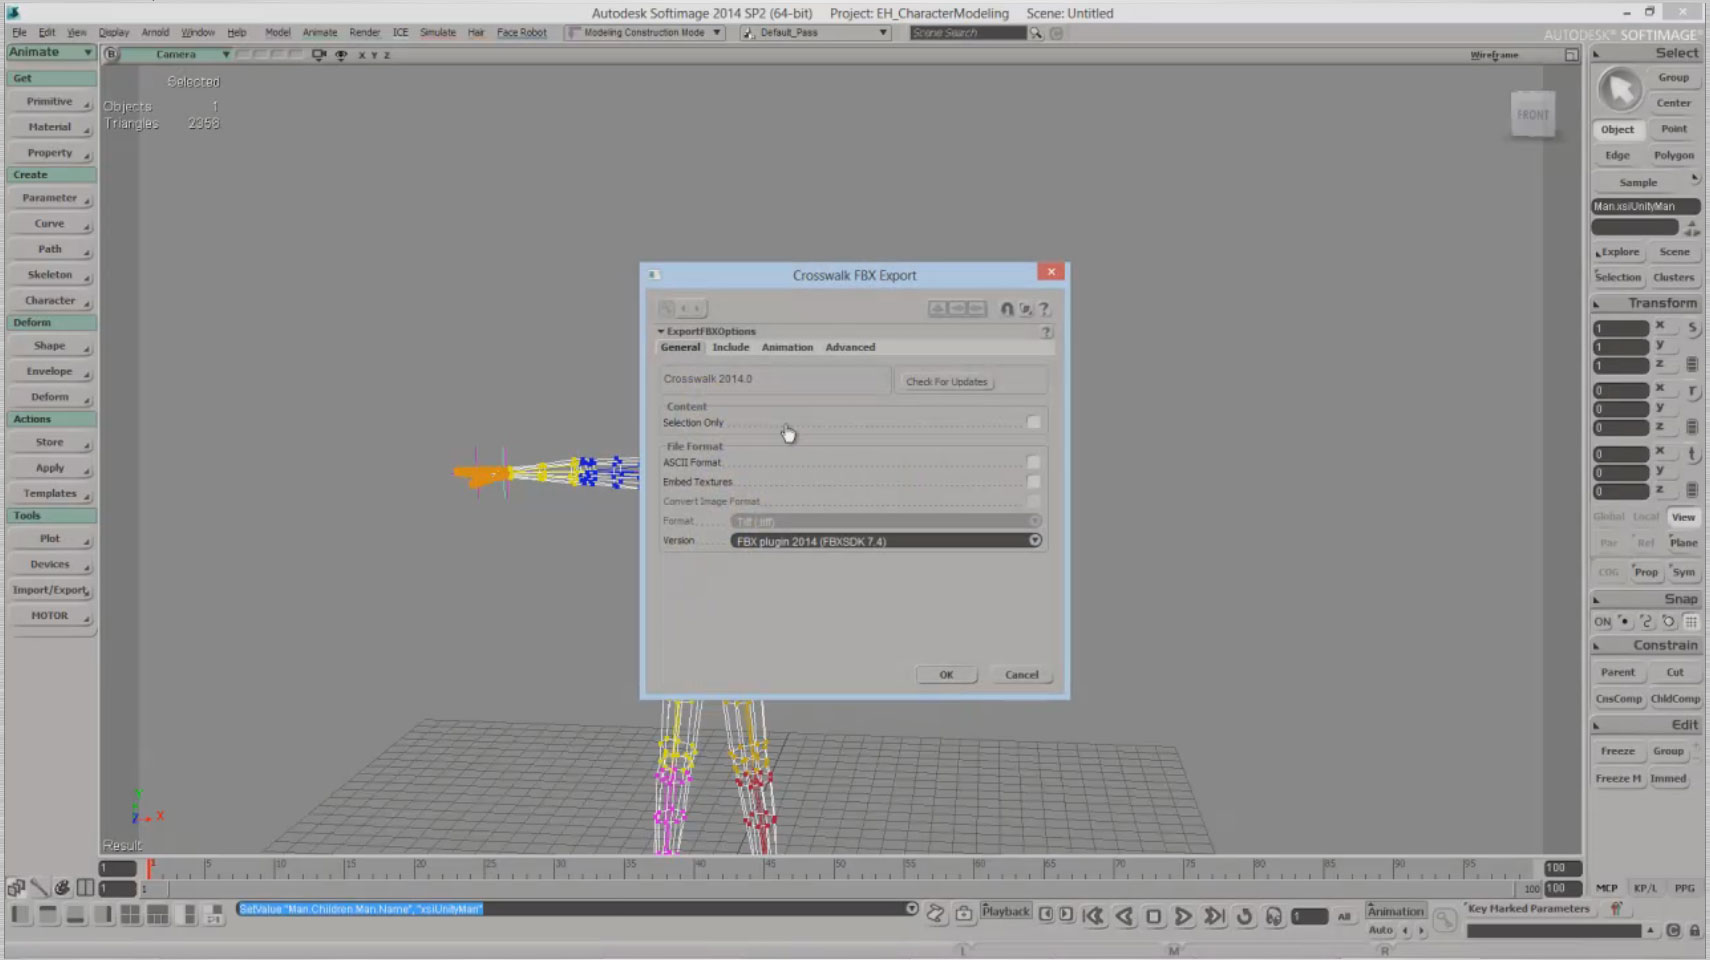
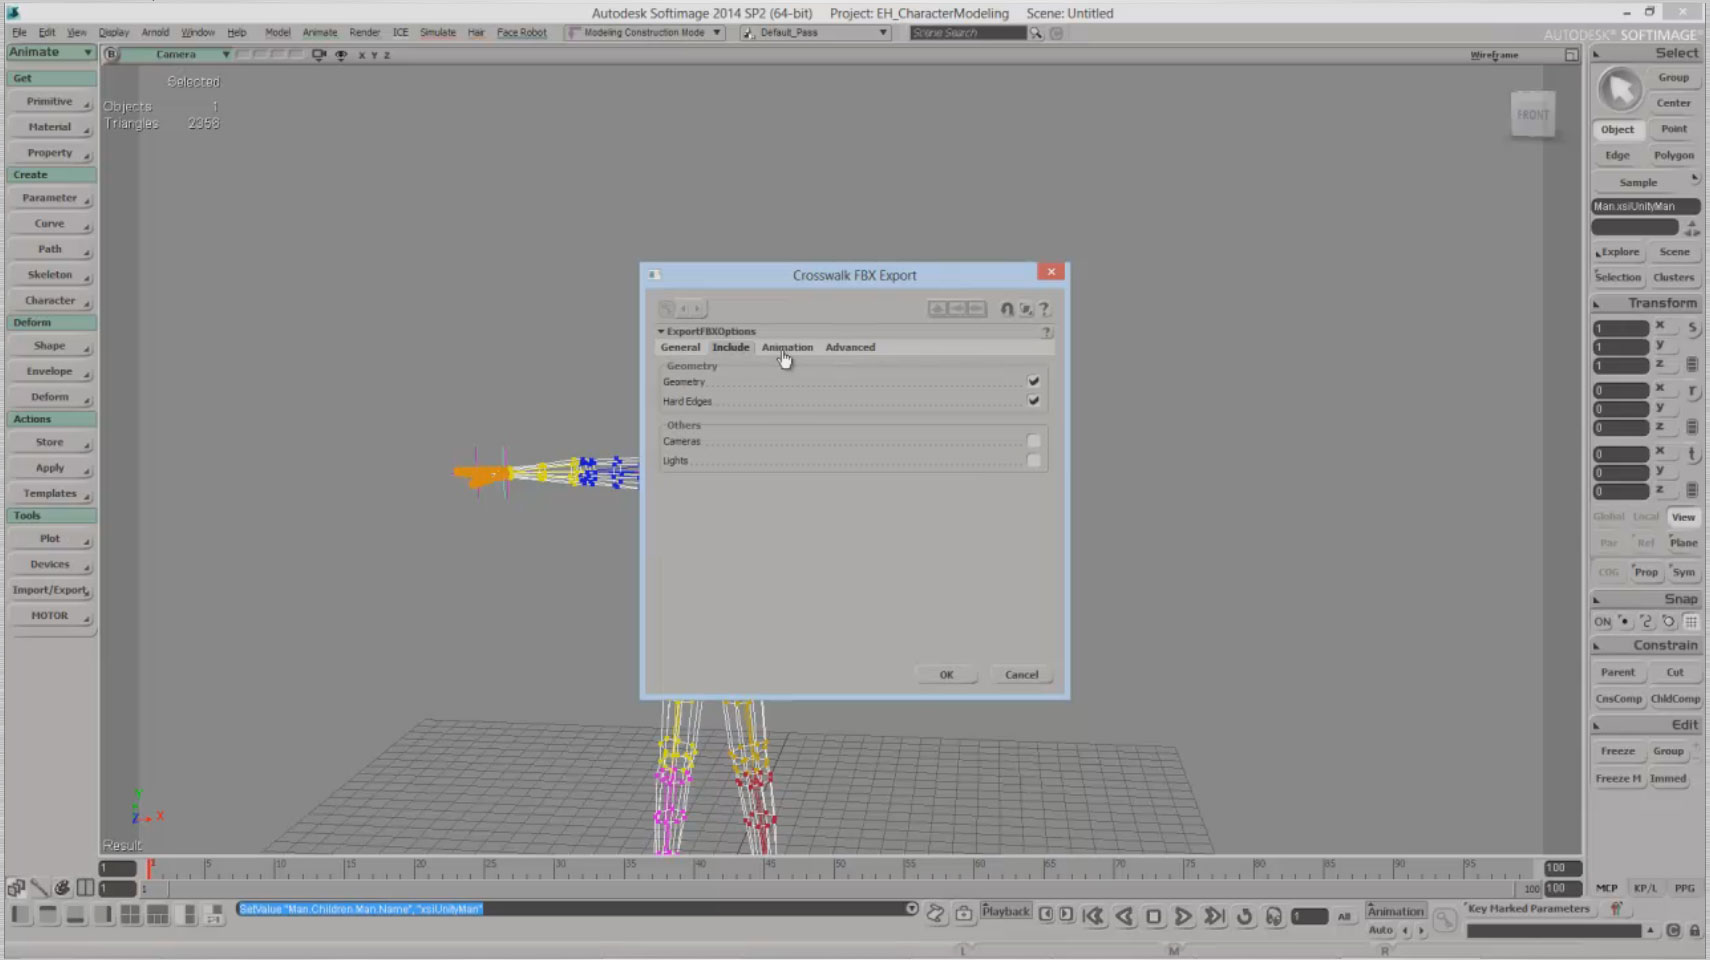
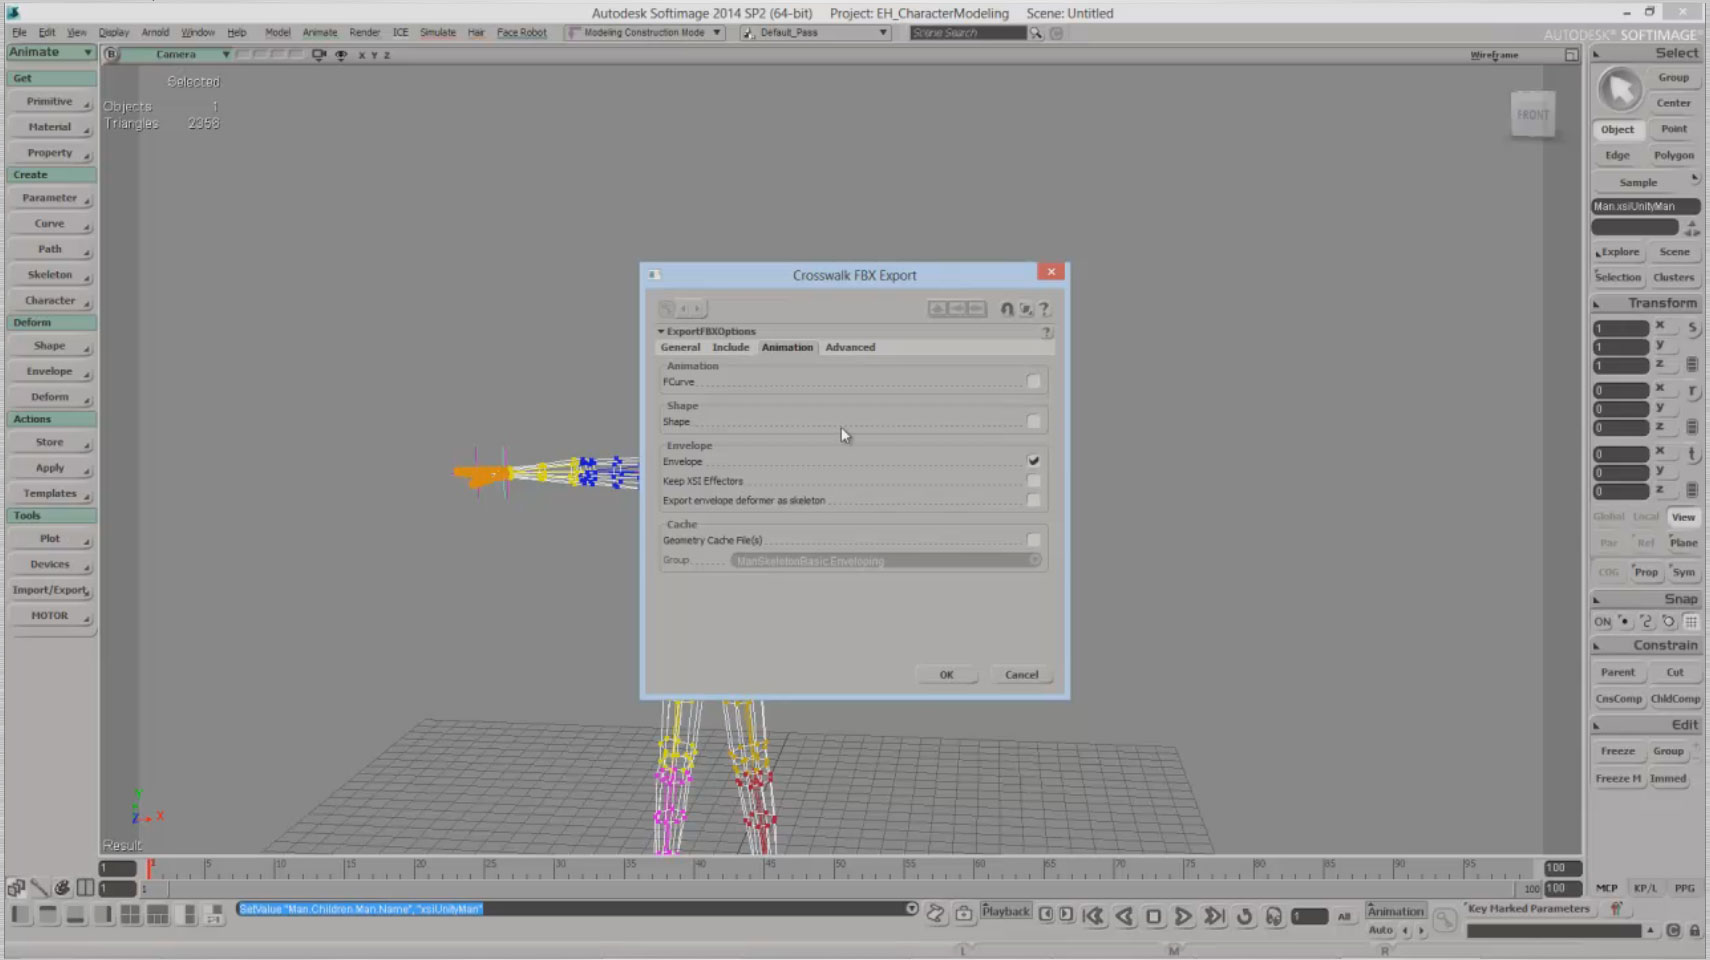
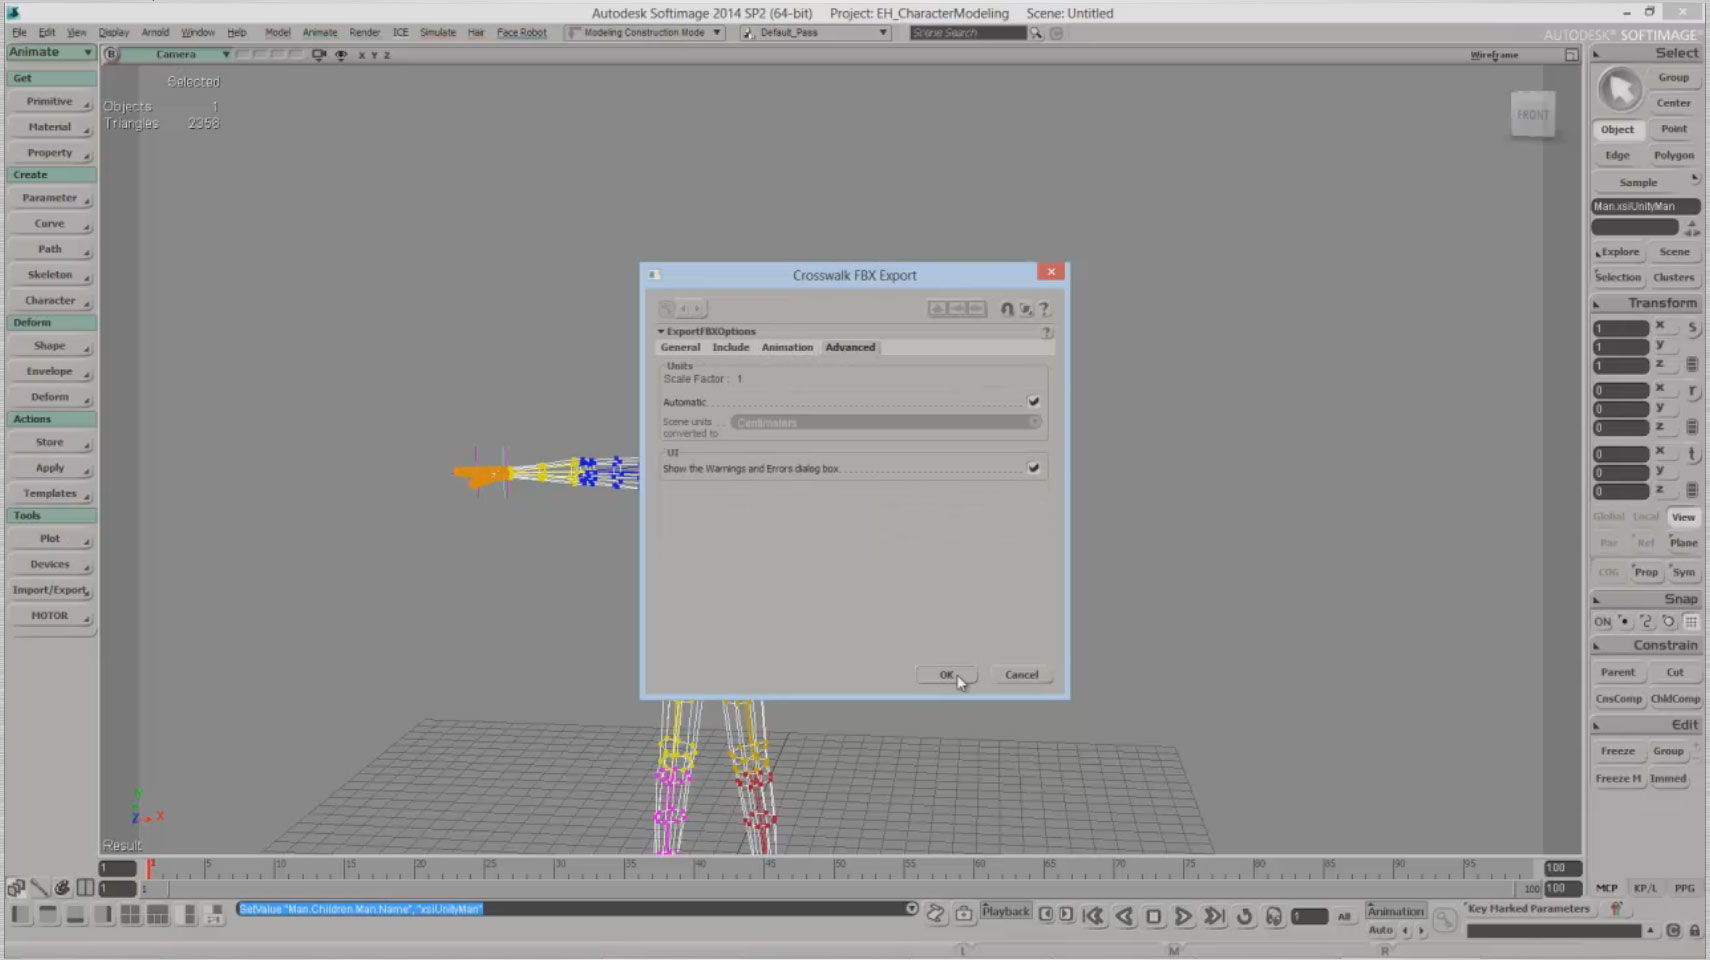
Next go to the File menu and pull down Crosswalk/Export FBX. I recommend exporting to the models folder in your project but you can select any folder you desire. Name your exported file and press okay.
In the Crosswalk FBX export options leave everything unselected in the General tab.
In the Include tab, deselect cameras and lights.
In the Animation tab, deselect S-curve and shape and in the Advanced tab, leave everything as is.
You’ll get an FBX warning that you can safely ignore.
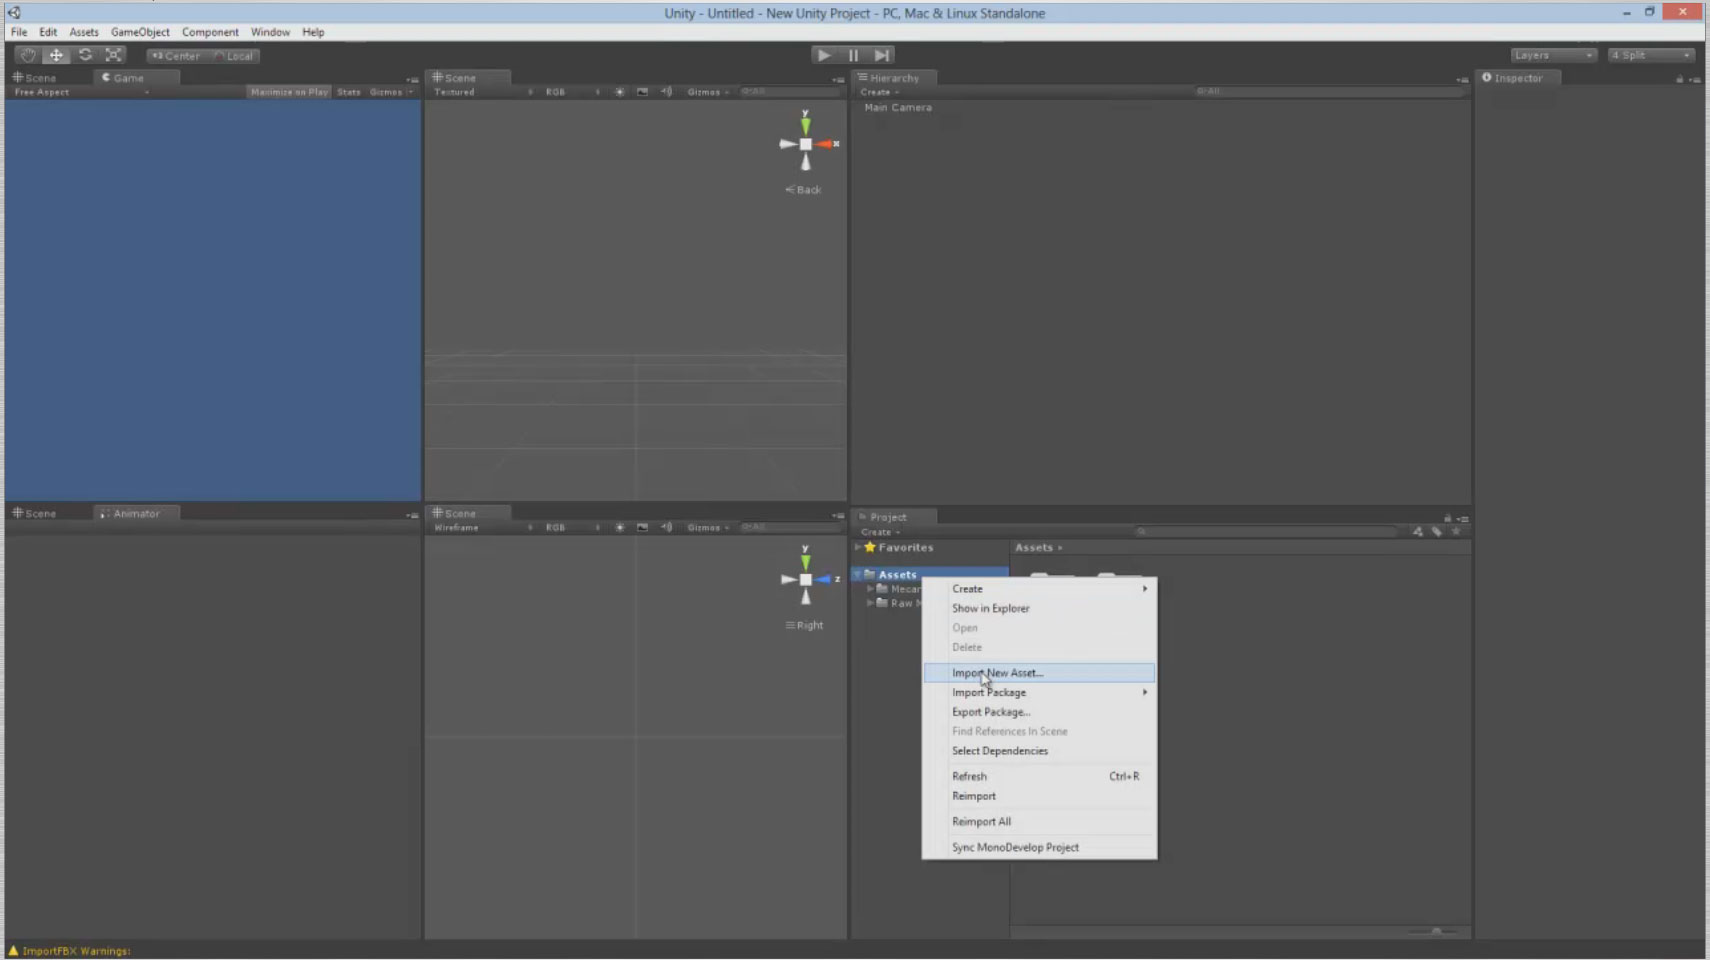
Switch to Unity and create a new scene. Right-click on the Assets folder and select Import New Asset. Navigate to the folder where you exported your model. Select the FBX file and click Import.
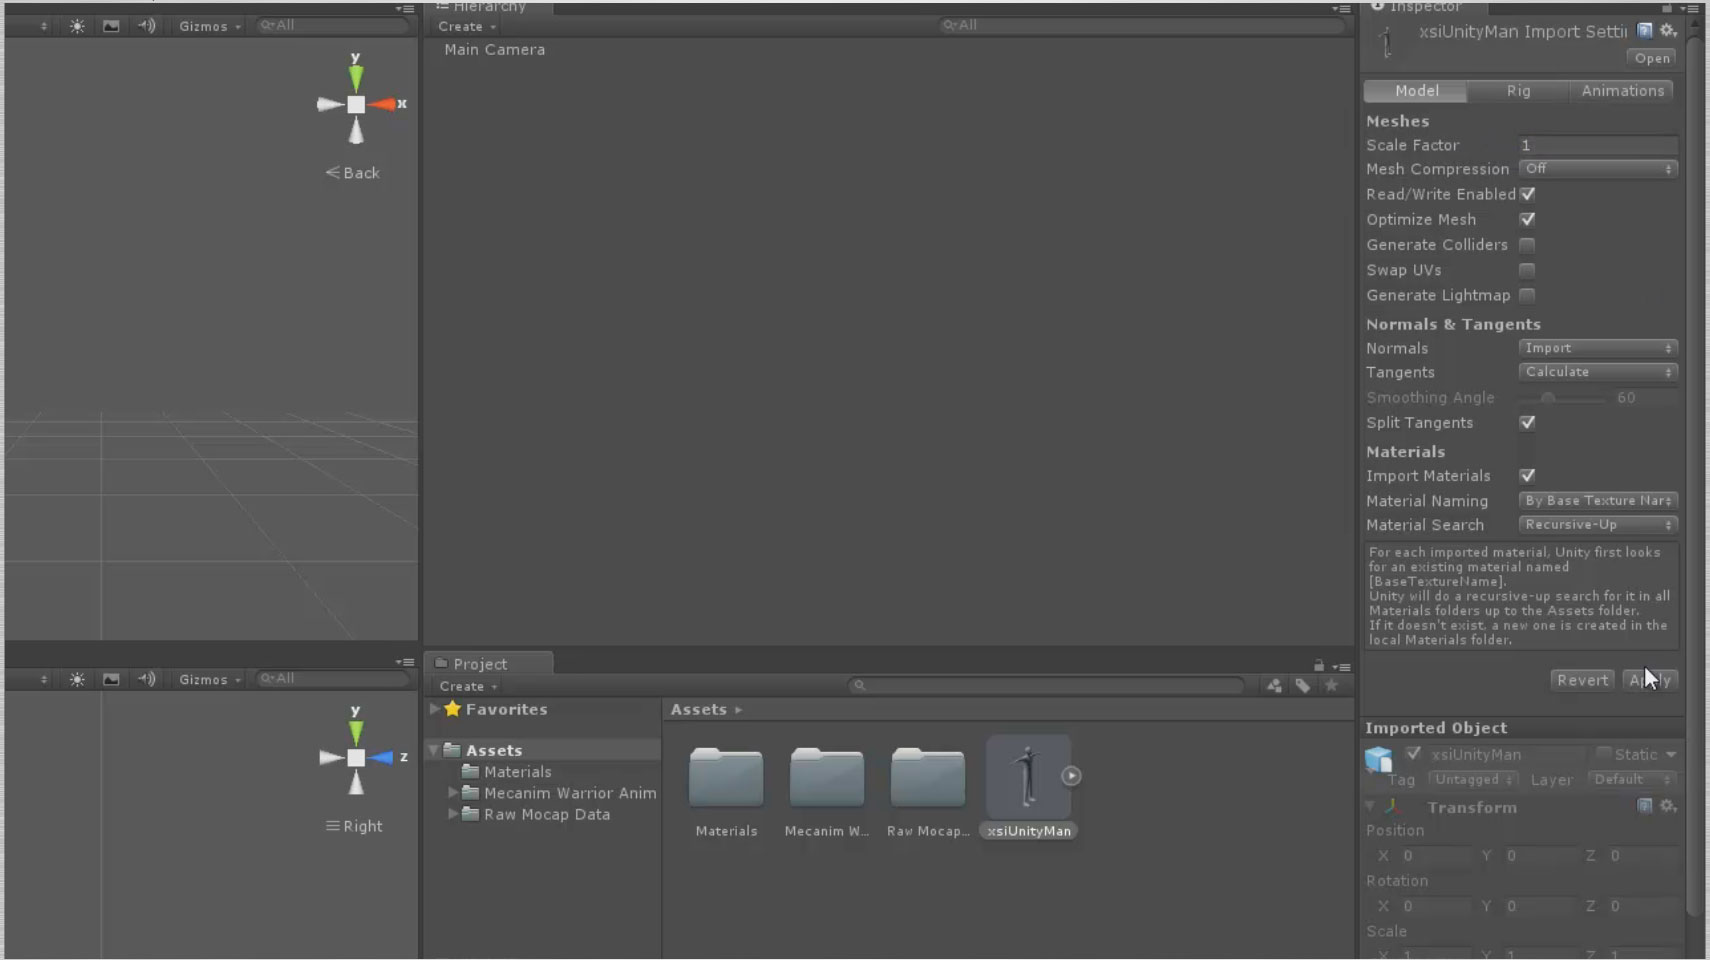
Select the imported xsiUnityMan in your Assets folder, look in the Inspector tab and click the Model button. Here, set the Scale Factor to 1 and then Apply.
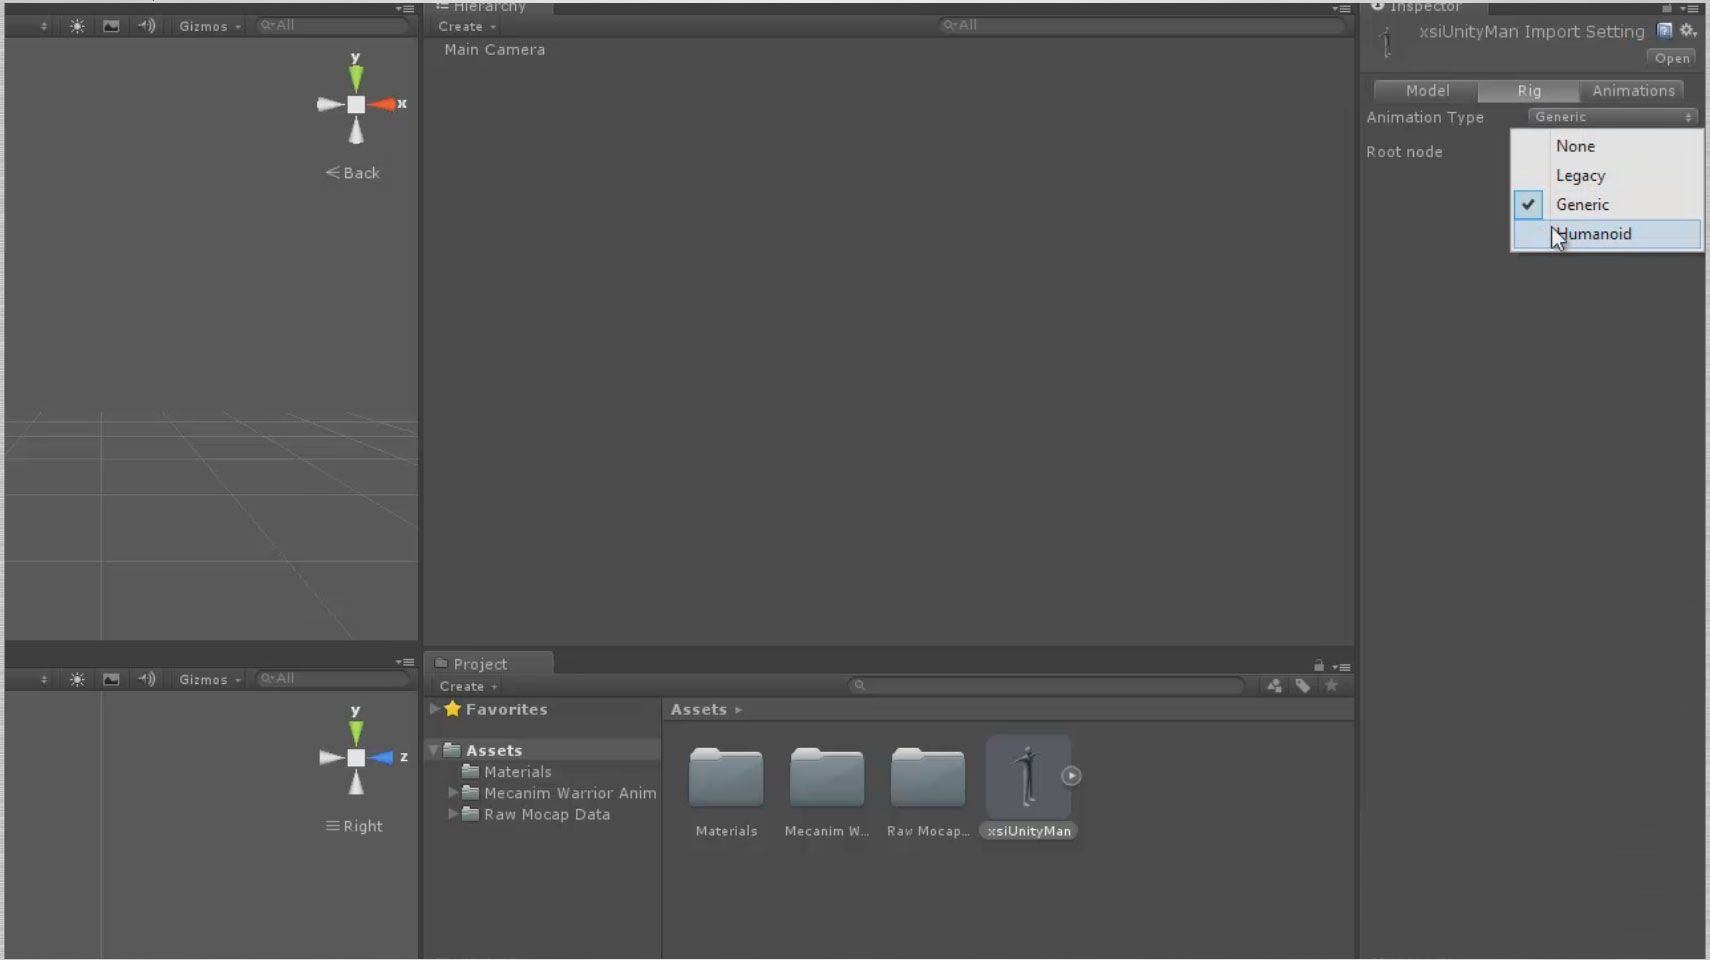
Next, select the Rig button, go to the Animation type and pull down Humanoid.
Select Apply and then Configure.
Before proceeding, Unity will ask you to save the scene.
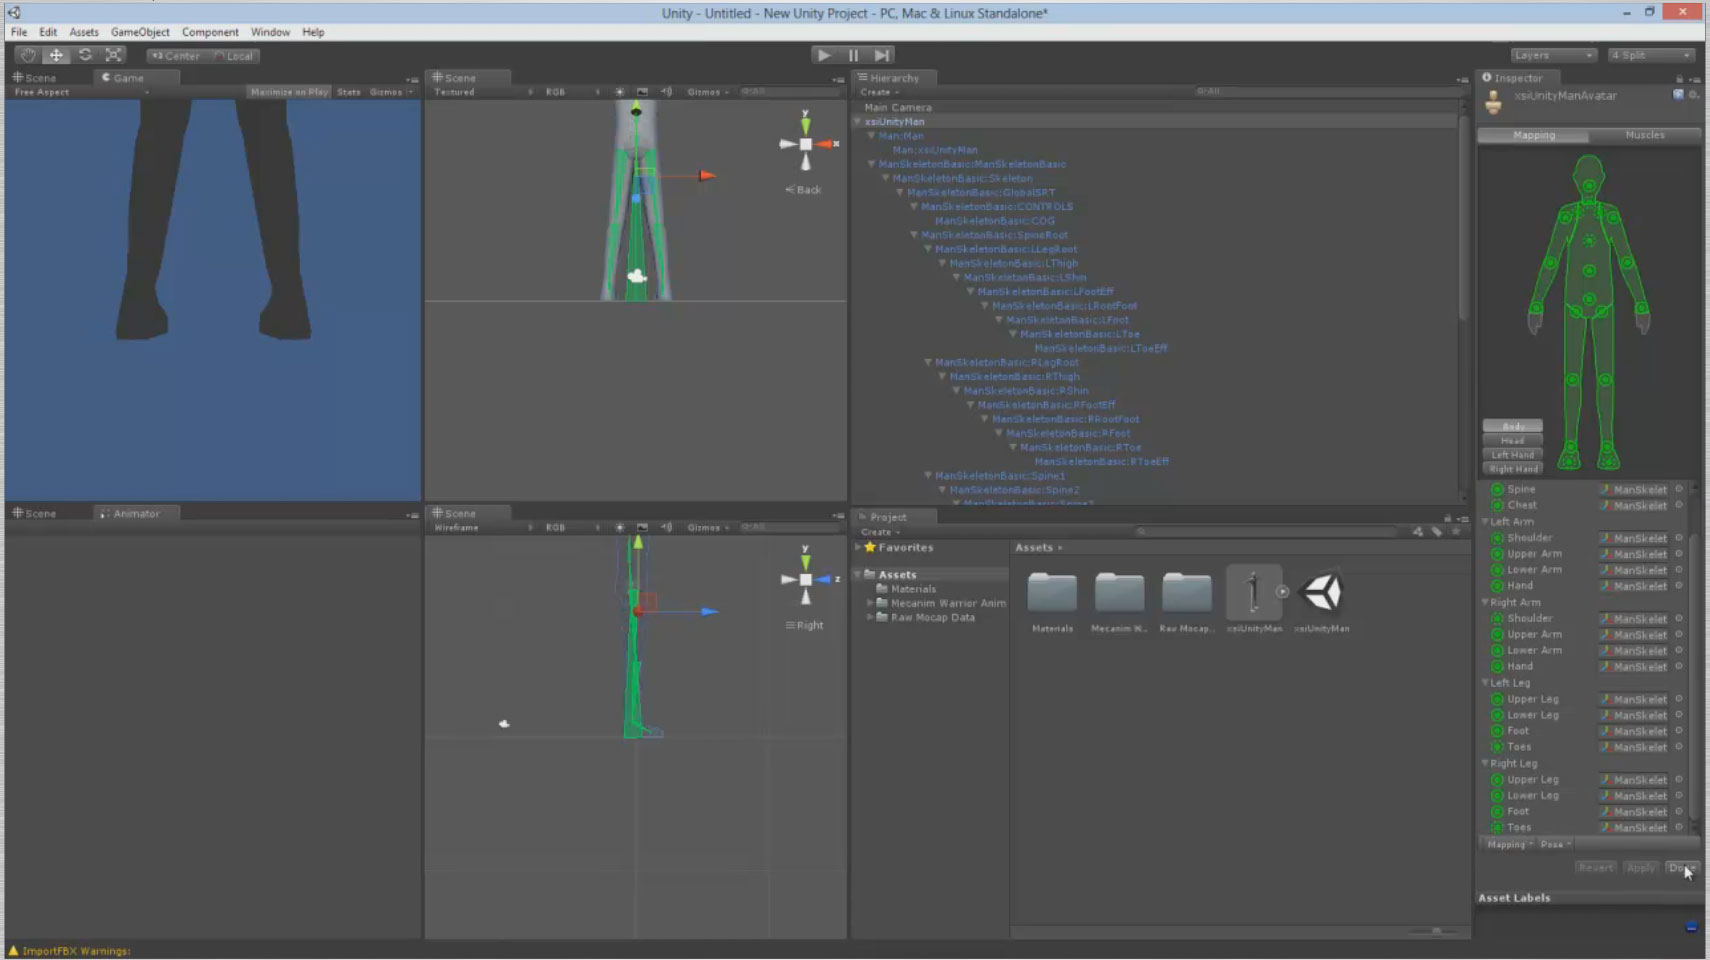
You'll next configure your model’s avatar. In this case, all of the automatic mapping came in correctly, so just click Done.
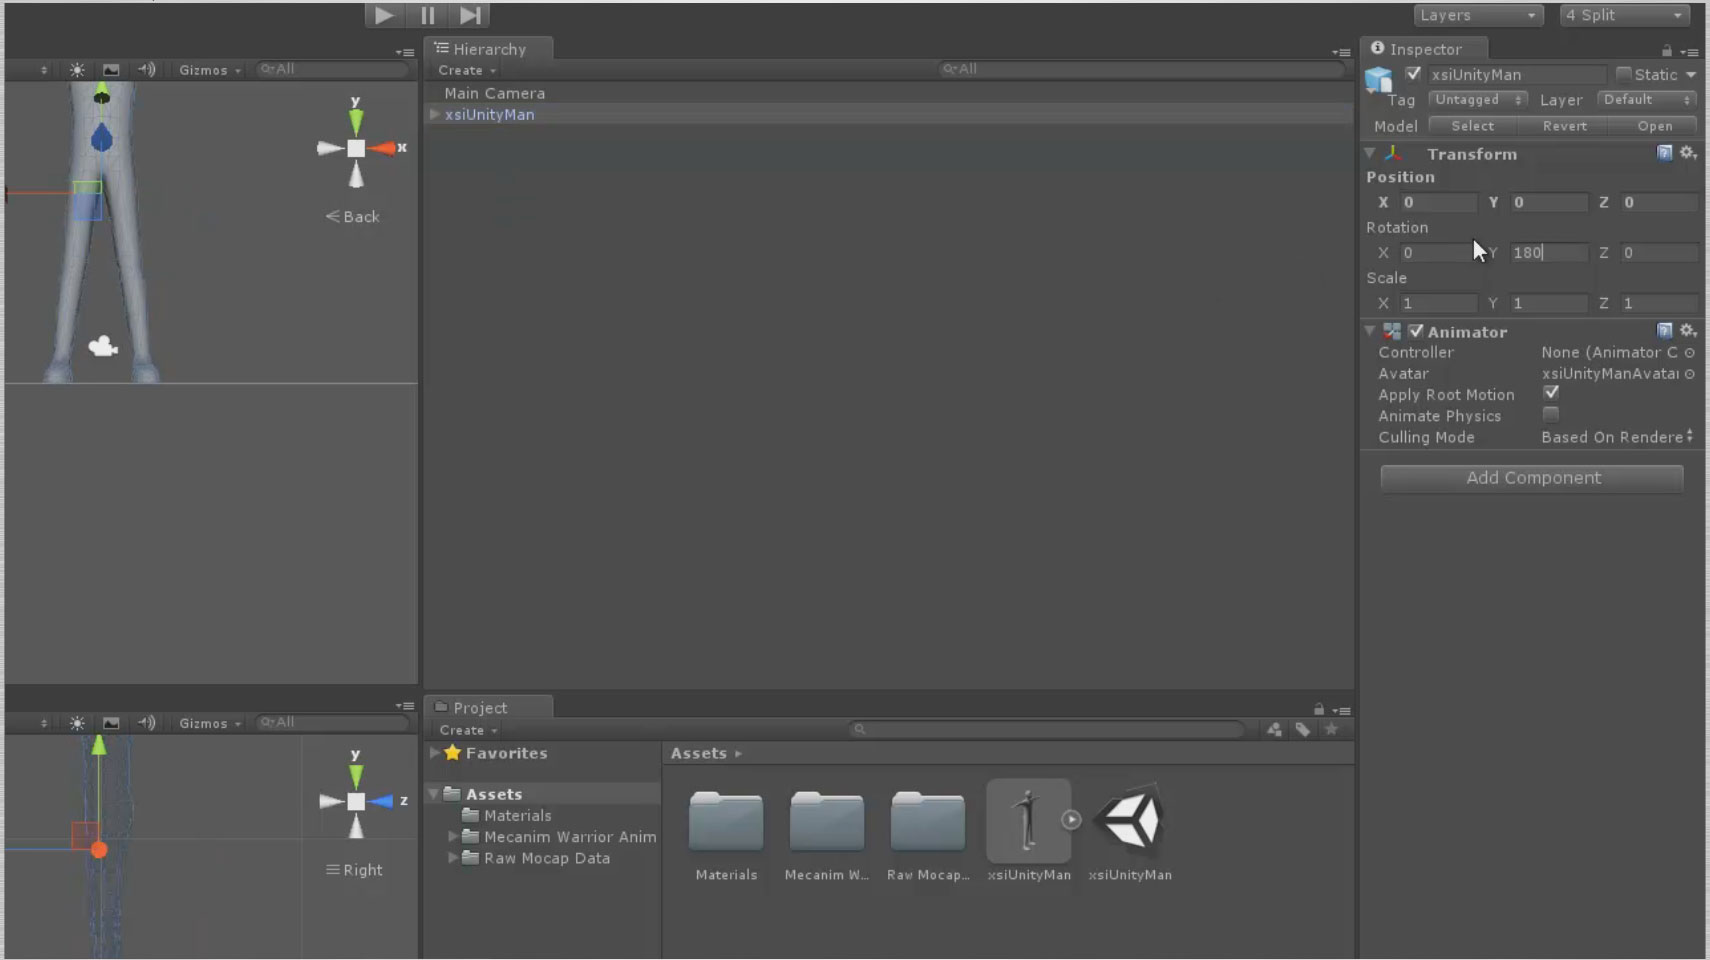
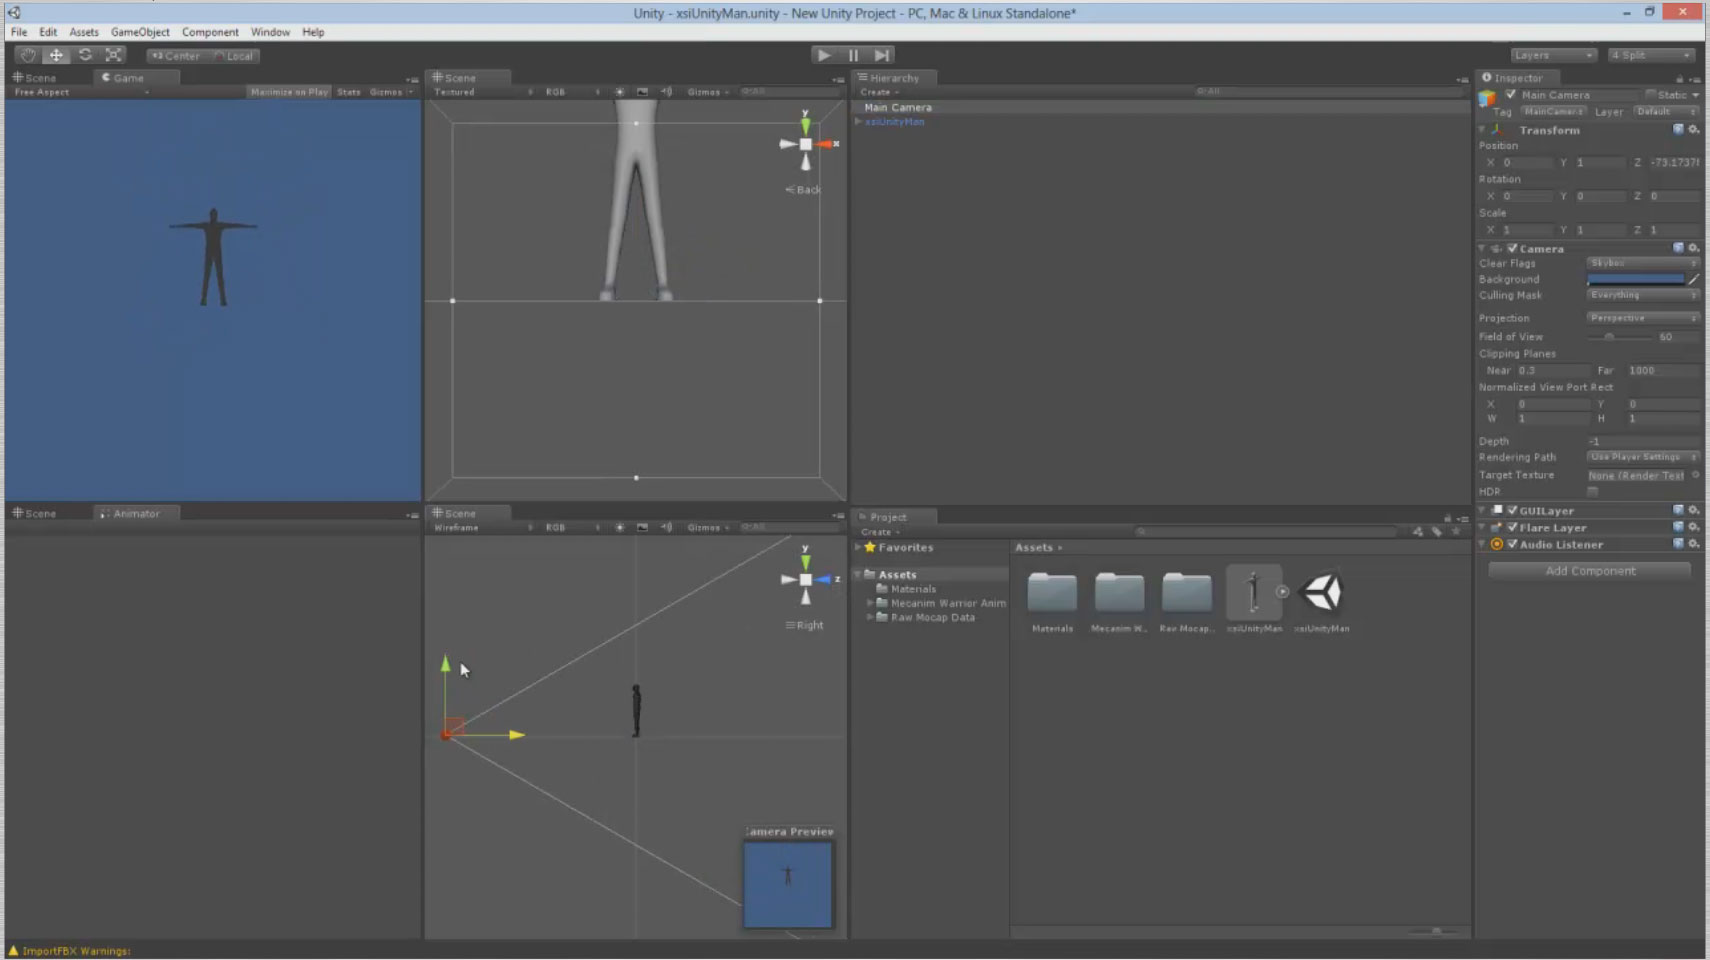
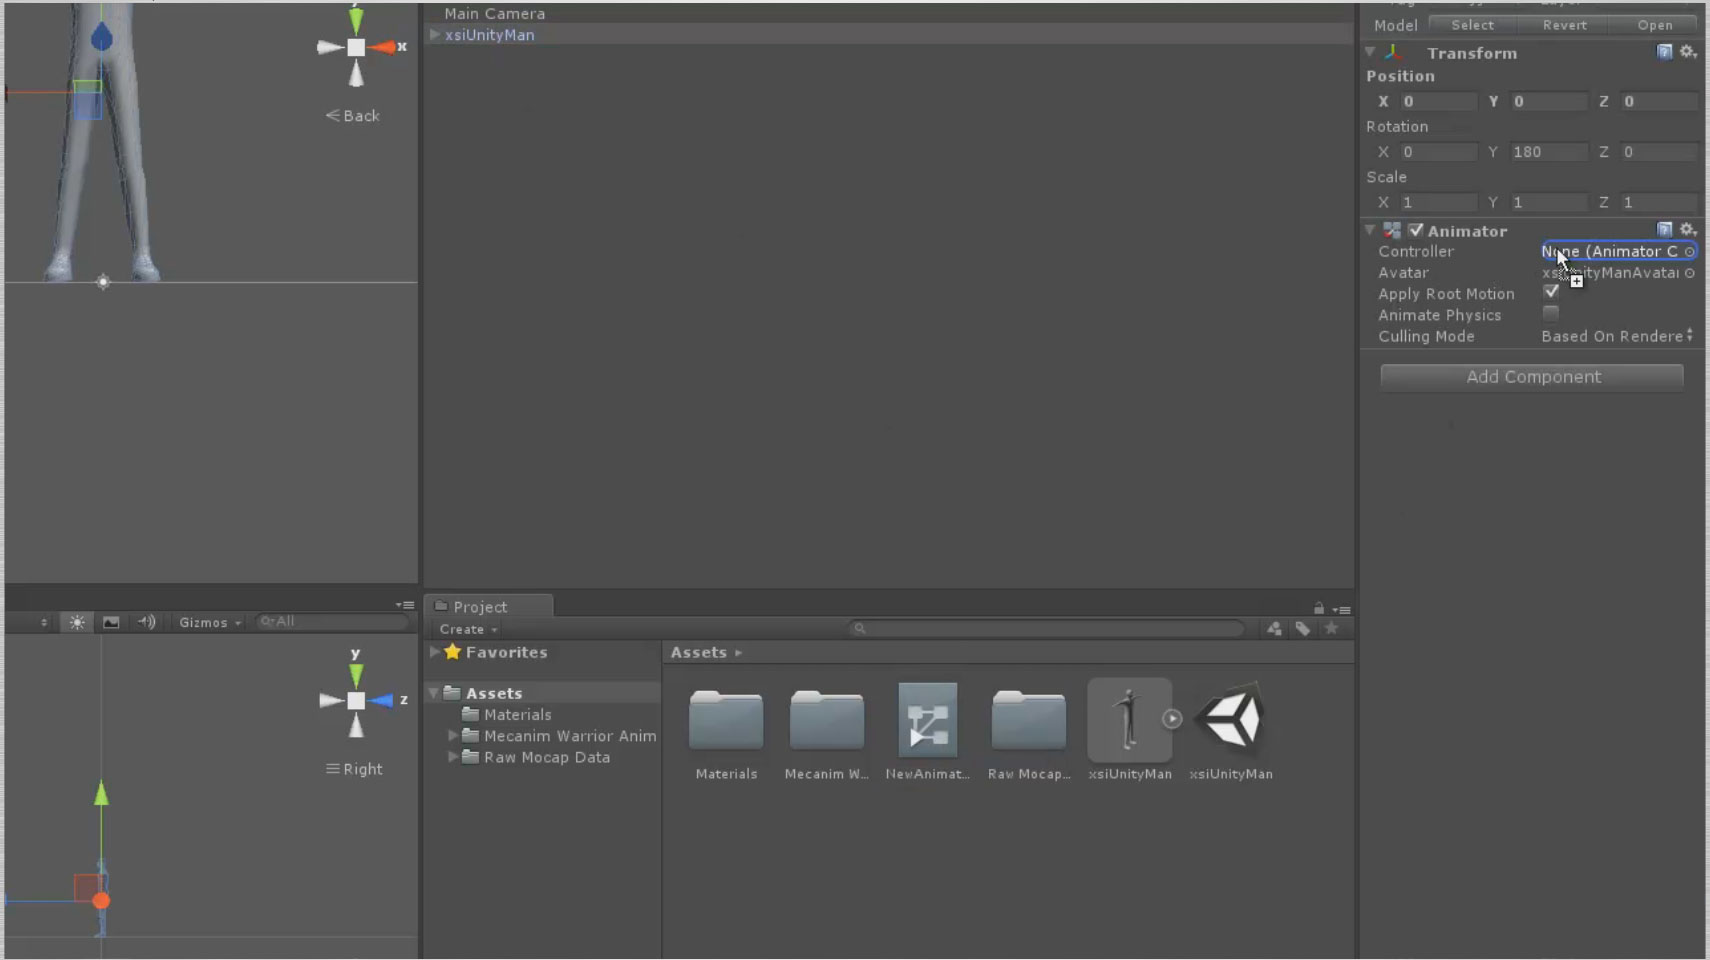
Now drag the xsiUnityMan model from your Assets folder into the Hierarchy window. This will place the object at the center of the world. You will need to rotate the character 180° on the Y axis to face the Unity camera.
Frame the xsiUnityMan in your scene by selecting the Main Camera in the Hierarchy window and then dragging the Translate manipulator in one or more of your scene views.
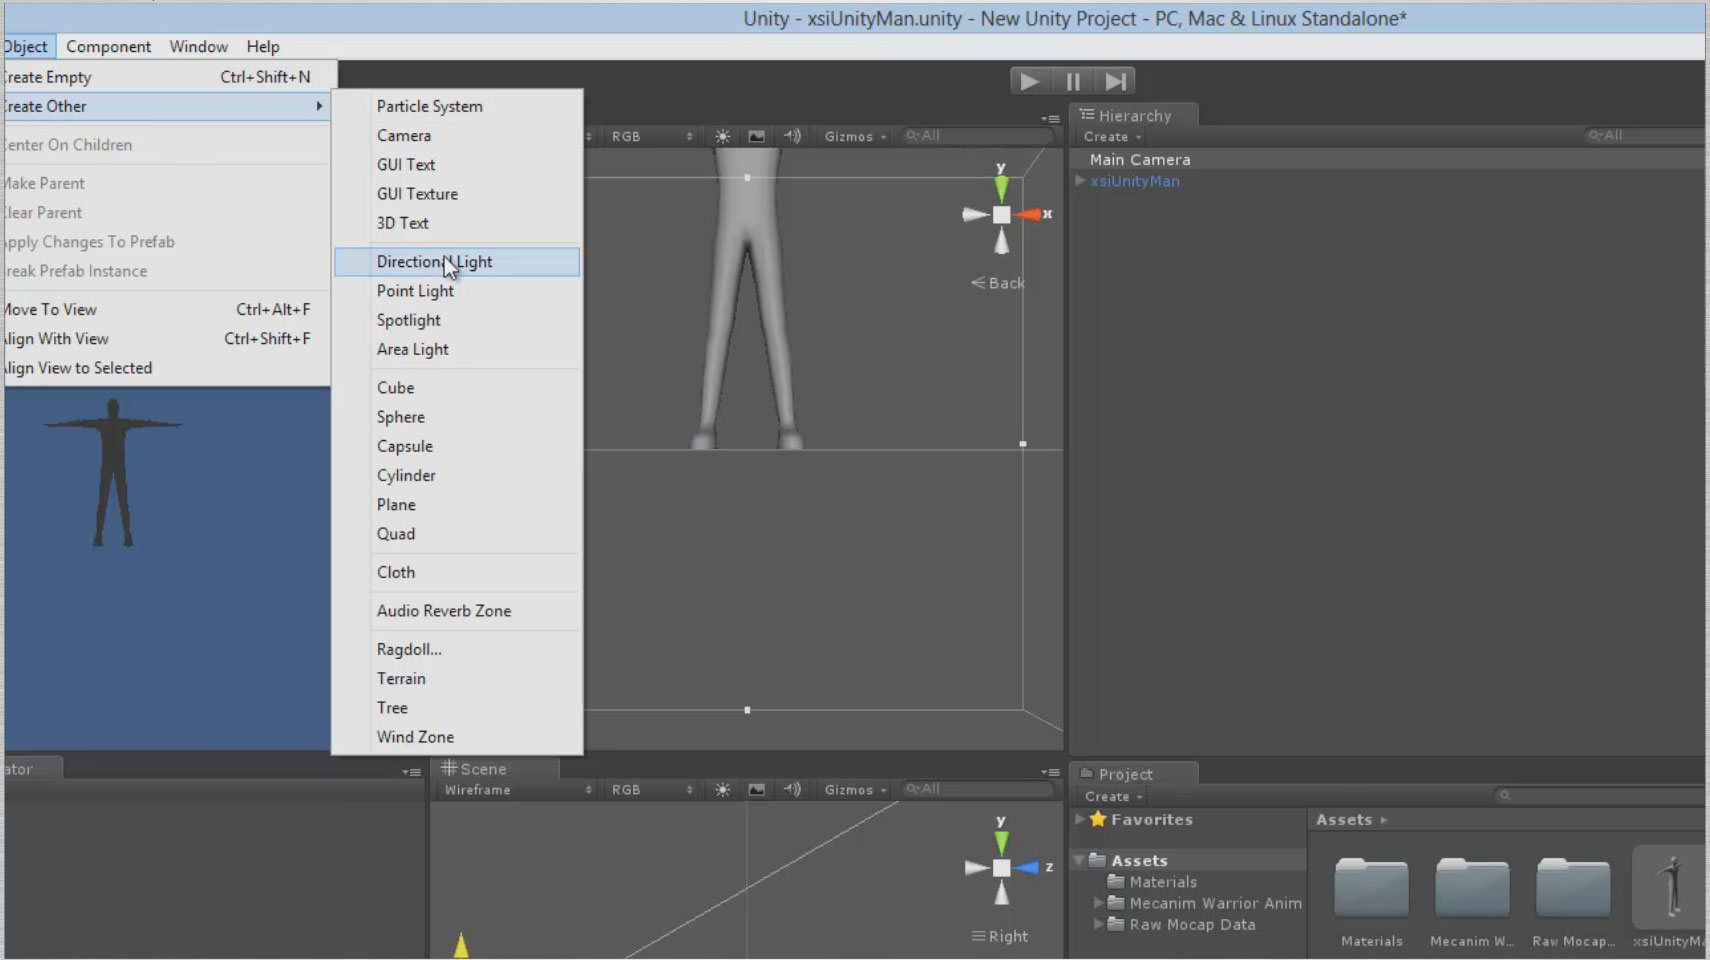
Add a light to the scene by going to the menu item GameObject/Create Other /Directional Light.
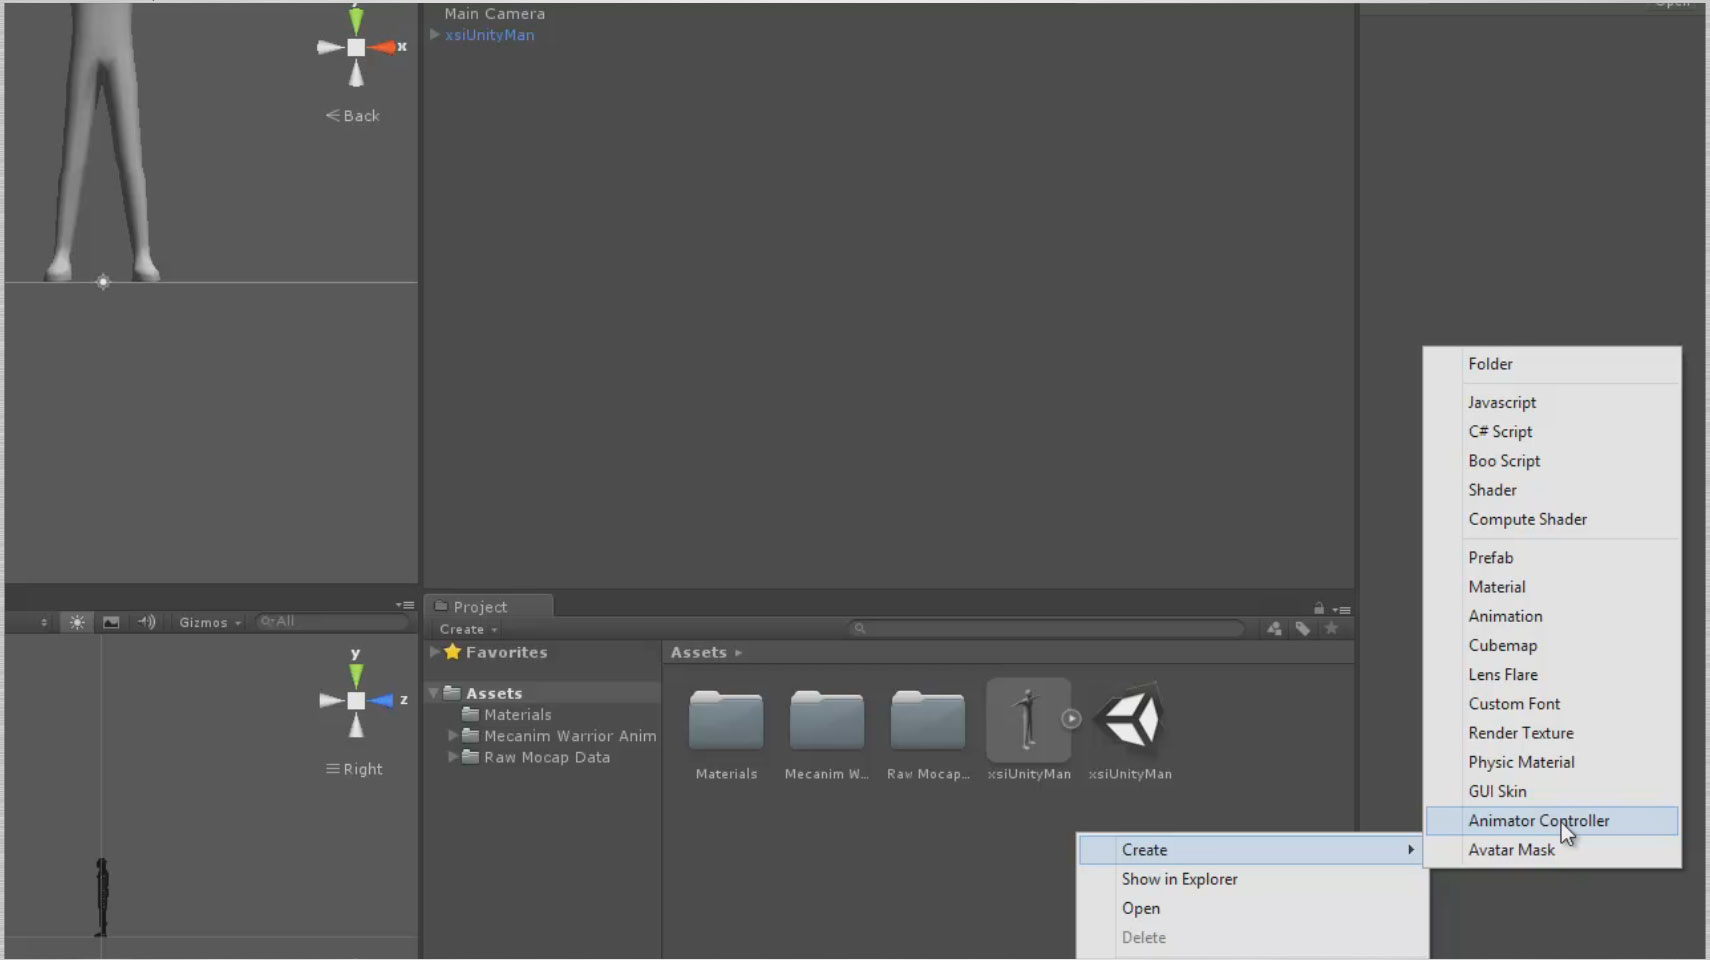
In the Assets window, right-click and select Create /Animation Control.
A new animation controller icon appears in your Assets window. Select the xsiUnityMan in the Hierarchy window and drag the new animation controller onto the Animator Controller slot in the object’s Inspector.
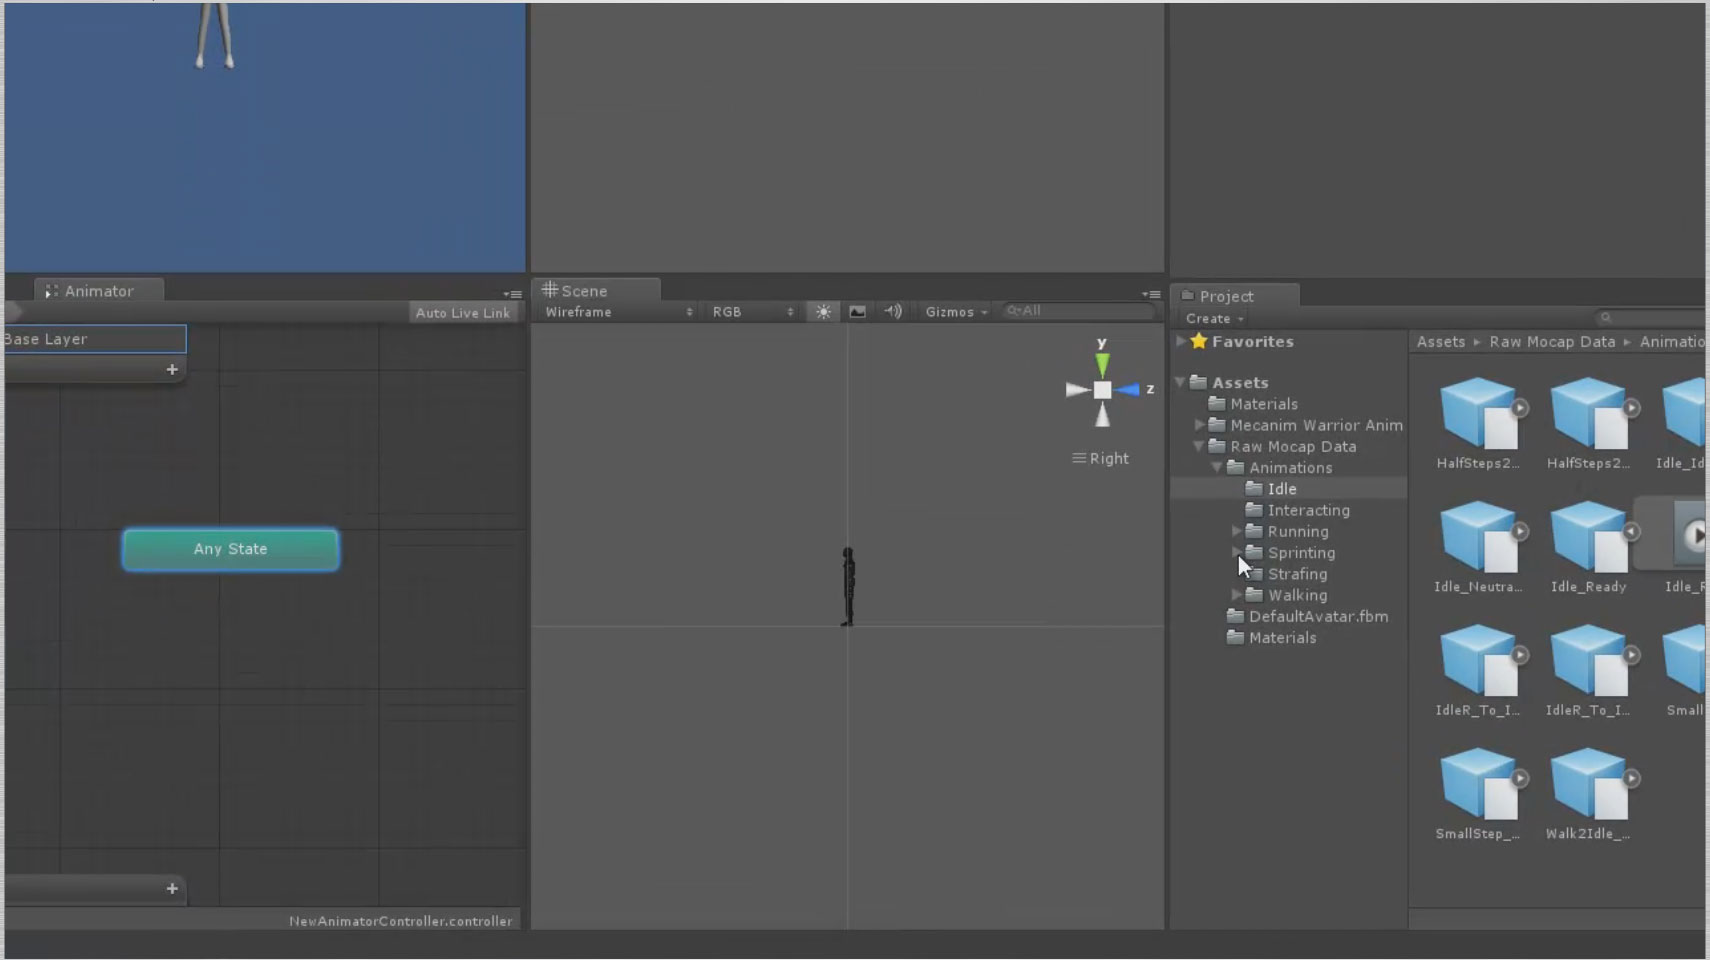
An Animator window will appear with a green Any State icon.
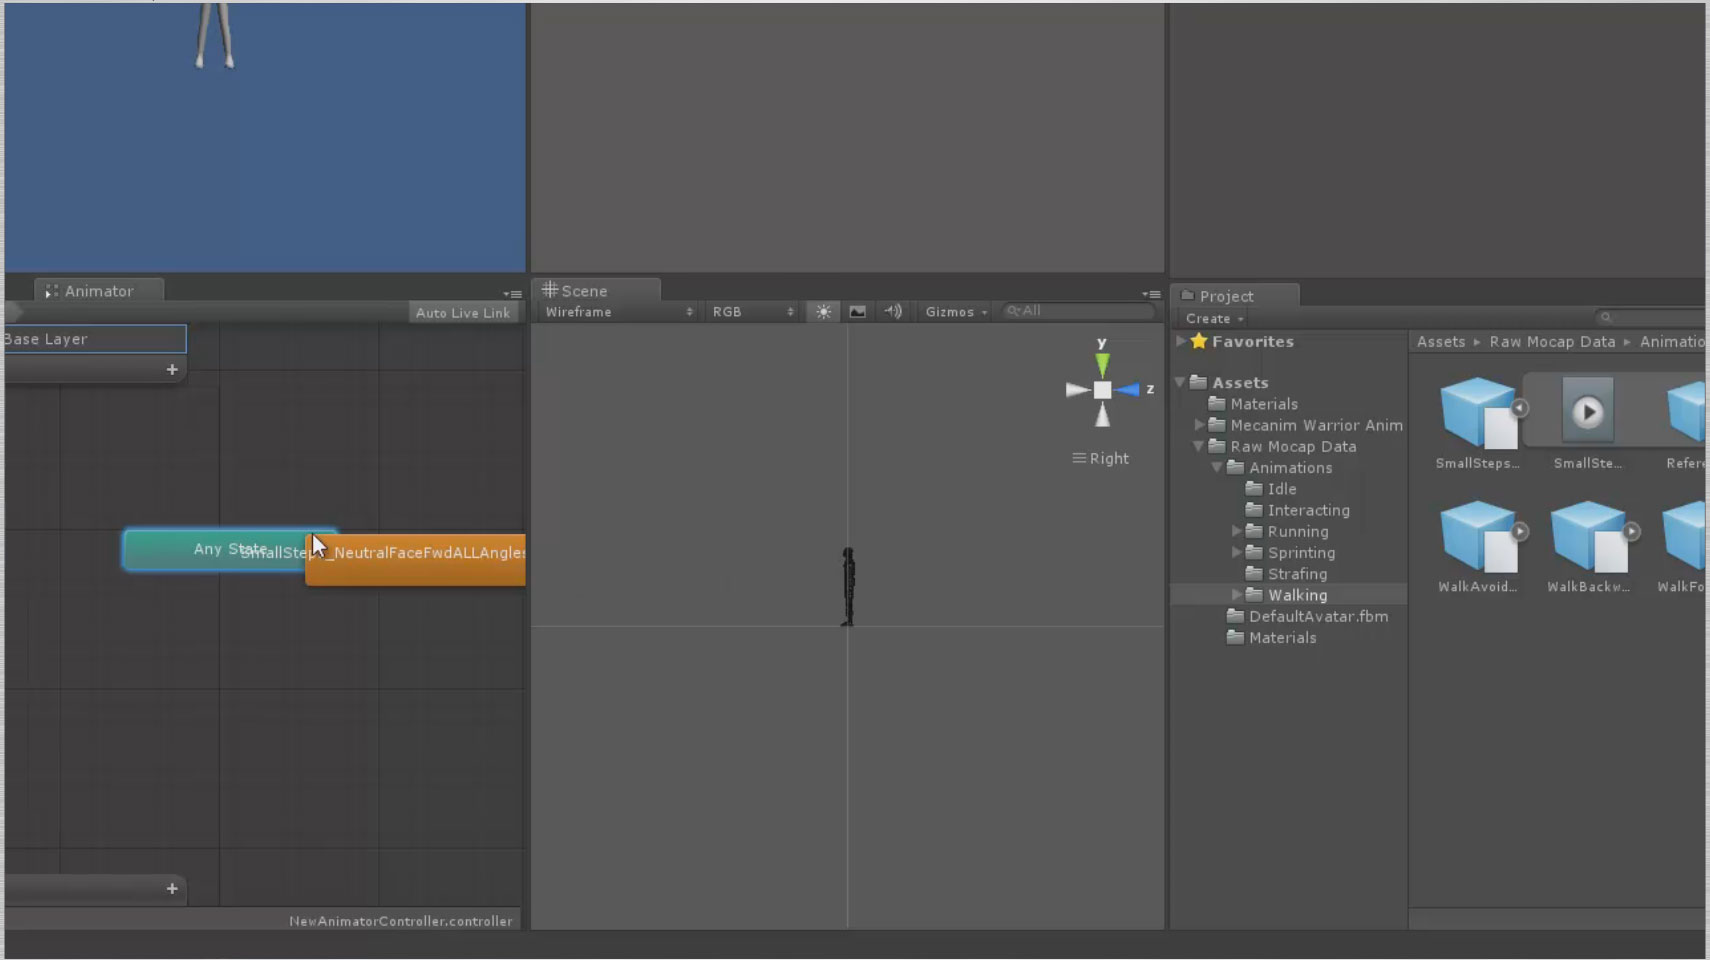
In the Assets folder, navigate to your Mecanim animations and select one. Drag it over the green Any State button and a new orange button representing the default animation is created.
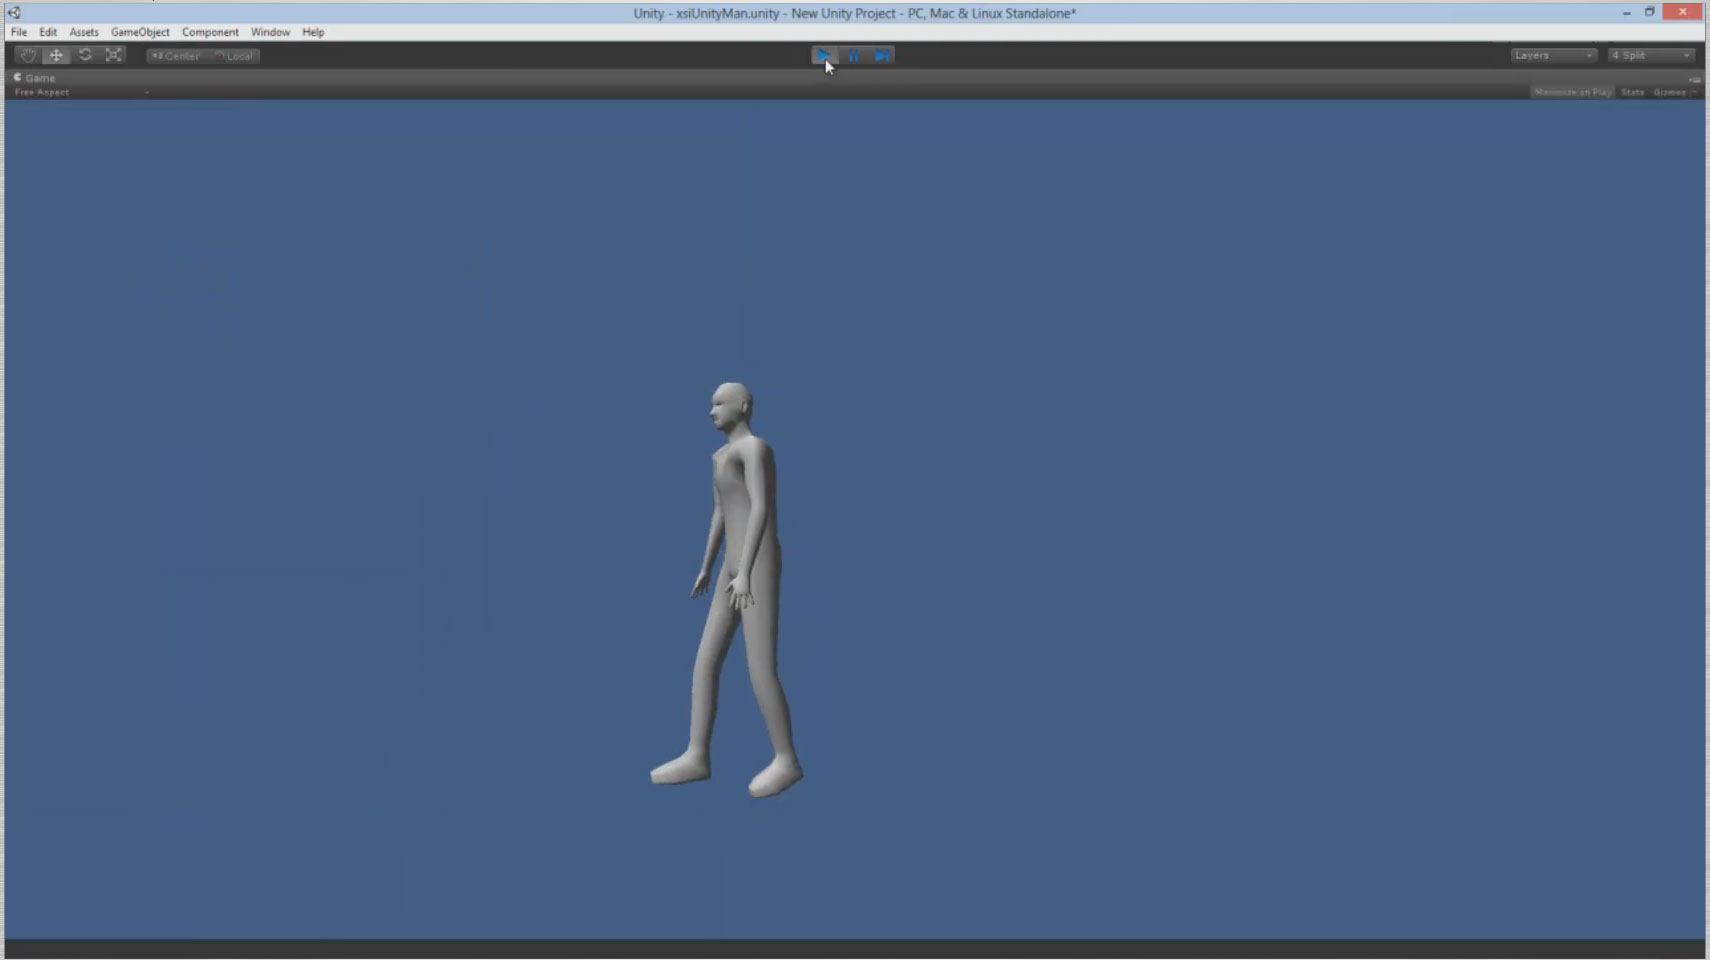
Press play to see the animation on your character. Stop the playback and test with other animations by dragging them into the Animator window, right clicking to Set as Default and pressing Play.
So that’s it. In approximately 1100 words or seven minutes, you know how to get rigged and skinned assets out of Softimage, into Unity and playing back Mecanim animations. Cool, huh?